Kubernetes Home Automation Cluster – Part 3: Core Apps
Now that we have a running Kubernetes cluster, we need to make it a bit more usable. For my home cluster, I wanted to ensure it was fault-tolerant, so I decided to implement a load balancer, an ingress controller, and an application manager. For these components, I chose MetalLB, Nginx, and Kubeapps.
In this guide, we will use Helm to install all the core applications. We’ll start with MetalLB for load balancing, then move on to Nginx as the ingress controller, and finally install Kubeapps. Installing Kubeapps last ensures that we have a UI available once everything else is set up.
Another suggestion I would make is to get a UI-based kubectl IDE like Lens or Headlamp. This will give you an easy way to view and interact with your cluster. Be aware, though, that the CPU and memory usage information will be missing until we install metrics-server. Talos has an excellent tutorial on how to install metrics-server, but I’ll explain some of the basics here as well.
Preparing Your Cluster for Metrics-Server
To deploy metrics-server on a Talos-based Kubernetes cluster, you’ll need to make some changes to the machine configuration for each node. The Talos documentation goes into great detail about the reasons for these changes, so I won’t rehash that here. Instead, I’ll focus on how to make these updates.
If you have a configuration file saved for each of your nodes, you can simply update the file and reapply it using the apply-config command as we did earlier. If you don’t have a machine config file saved or prefer to edit it directly, you can use the following Talos CLI command:
talosctl edit machineconfig -e <IP_ADDRESS> -n <IP_ADDRESS>This will open the configuration file in your preferred editor, allowing you to make the necessary changes. Specifically, you’ll need to enable certificate rotation for the kubelet by adding the following configuration:
machine:
  kubelet:
    extraArgs:
      rotate-server-certificates: "true"
Once the changes are saved, Talos will automatically apply the change to the node.
Automating Certificate Approval
With certificate rotation enabled, you’ll also need a mechanism to automatically approve the new certificates generated by the kubelets. The Kubelet Serving Certificate Approver automates this process. Deploy the Kubelet Serving Certificate Approver directly using the following command:
kubectl apply -f https://raw.githubusercontent.com/alex1989hu/kubelet-serving-cert-approver/main/deploy/standalone-install.yaml
Deploying the Metrics Server
After enabling certificate rotation and setting up automatic approval, you can deploy the Metrics Server by applying its official manifest:
kubectl apply -f https://github.com/kubernetes-sigs/metrics-server/releases/latest/download/components.yaml
Alternatively, you can include both the Kubelet Serving Certificate Approver and the Metrics Server in your cluster’s bootstrap process by adding them to the extraManifests section of your cluster configuration:
cluster:
  extraManifests:
    - https://raw.githubusercontent.com/alex1989hu/kubelet-serving-cert-approver/main/deploy/standalone-install.yaml
    - https://github.com/kubernetes-sigs/metrics-server/releases/latest/download/components.yaml
Installing MetalLB
We’ll start by installing MetalLB to provide load balancing capabilities to your cluster. Before doing so, you need to make some permission changes to the metallb-system namespace:
- Create the namespace:
kubectl create --save-config -f - <<EOF
apiVersion: v1
kind: Namespace
metadata:
  name: metallb-system
  labels:
    pod-security.kubernetes.io/enforce: privileged
    pod-security.kubernetes.io/audit: privileged
    pod-security.kubernetes.io/warn: privileged
EOF- Install MetalLB using Helm:
helm repo add metallb https://metallb.github.io/metallb
helm install metallb --namespace metallb-system metallb/metallb
Once installed, you’ll need to configure a Layer 2 or BGP mode IP range by applying the following IPAddressPool and L2Advertisement resources:
kubectl apply -f - <<EOF
kind: IPAddressPool
apiVersion: metallb.io/v1beta1
metadata:
  name: default-lb-pool
  namespace: metallb-system
spec:
  addresses:
  - 192.168.0.46-192.168.0.50
---
apiVersion: metallb.io/v1beta1
kind: L2Advertisement
metadata:
  name: metaladvertisement
  namespace: metallb-system
EOF
This enables MetalLB to assign IP addresses for load-balanced services.
Installing Nginx
Next, we’ll install Nginx as the ingress controller. Add the Helm repository and deploy it:
helm repo add ingress-nginx https://kubernetes.github.io/ingress-nginx
helm install ingress-nginx ingress-nginx/ingress-nginx \
  --namespace ingress-nginx --create-namespace \
  --set publishService.enabled=true
Monitor the pods in the ingress-nginx namespace to ensure everything is running smoothly:
kubectl get pods -n ingress-nginx
Create Storage Class for the NVME drive
Run the following command
kubectl apply -f - <<EOF
apiVersion: storage.k8s.io/v1
kind: StorageClass
metadata:
  name: ssd-storage
provisioner: kubernetes.io/no-provisioner
volumeBindingMode: WaitForFirstConsumer
EOF
Installing Kubeapps - optional
Finally, let’s install Kubeapps to provide a UI for managing applications via Helm charts. First, we need to add a PVC that our Kubeapps application can use for storage.
kubectl apply -f - <<EOF
apiVersion: v1
kind: PersistentVolumeClaim
metadata:
  name: kubeapps-postgres-pvc
spec:
  accessModes:
    - ReadWriteOnce
  resources:
    requests:
      storage: 10Gi
EOF
Next, we need to add the Helm repository for Kubeapps and install it in a dedicated namespace:
helm repo add bitnami https://charts.bitnami.com/bitnami
helm install kubeapps --namespace kubeapps bitnami/kubeapps \
  --namespace kubeapps --create-namespace \
  --set ingress.enabled=true \
  --set postgresql.primary.persistence.enabled=true \
  --set postgresql.primary.persistence.existingClaim="kubeapps-postgres-pvc"
You then need to create a credential that can be used to access the dashboard.
kubectl create --namespace default serviceaccount kubeapps-operator
kubectl create clusterrolebinding kubeapps-operator --clusterrole=cluster-admin --serviceaccount=default:kubeapps-operator
cat <<EOF | kubectl apply -f -
apiVersion: v1
kind: Secret
metadata:
  name: kubeapps-operator-token
  namespace: default
  annotations:
    kubernetes.io/service-account.name: kubeapps-operator
type: kubernetes.io/service-account-token
EOF
You can now request access to the token we created to access the dashboard.
kubectl get --namespace default secret kubeapps-operator-token -o go-template='{{.data.token | base64decode}}'For now you will need to add a host entry to your host file to access the UI through the ingress. You can find the IP address for your ingress by running the following command.
kubectl get -n kubeapps ingressYou should get something that looks like this.

Then edit your /etc/hosts file and add an entry for your kubeapps ingress.
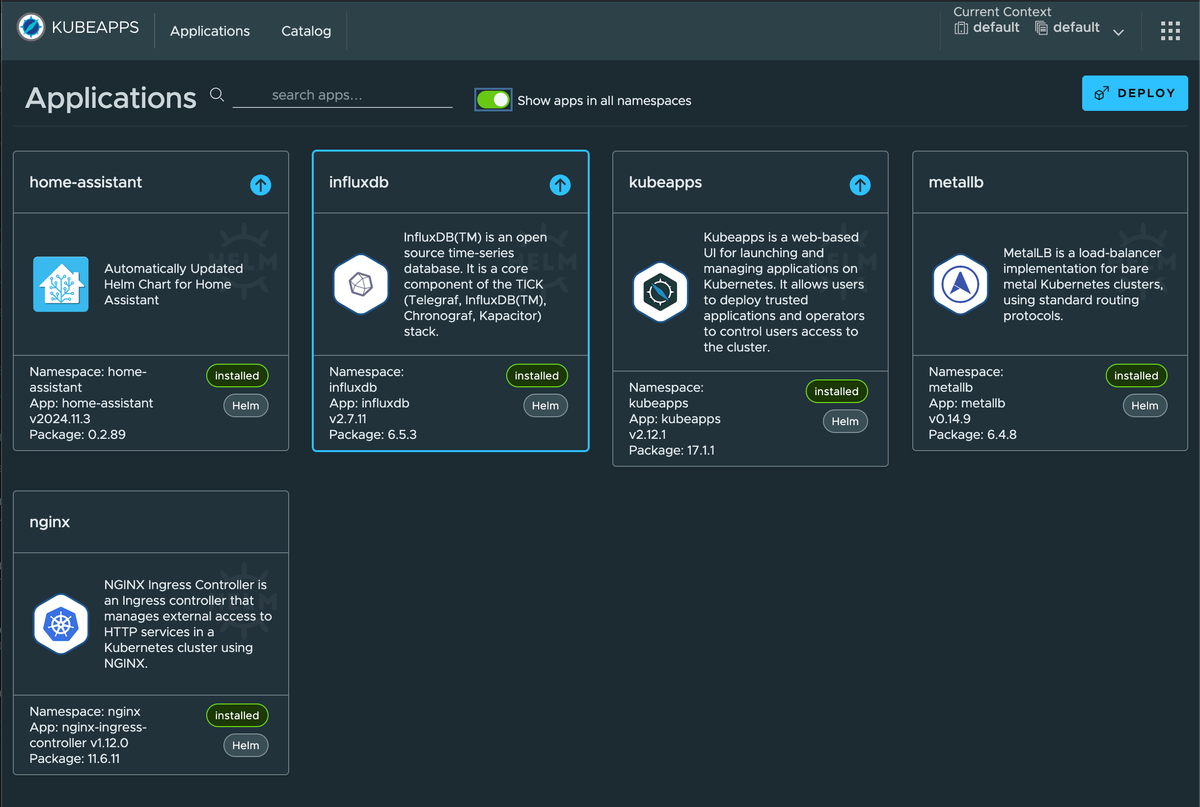
<ip-address> kubeapps.localThen you should be able to access Kubeapps by opening a browser and navigate to http://kubeapps.local
Conclusion
By installing MetalLB, Nginx, and Kubeapps, we’ve transformed our Kubernetes cluster into a fault-tolerant and user-friendly platform. These tools, along with a UI-based kubectl IDE and metrics-server, make managing and monitoring your cluster a breeze. Happy clustering!