Home Assistant Touchscreen
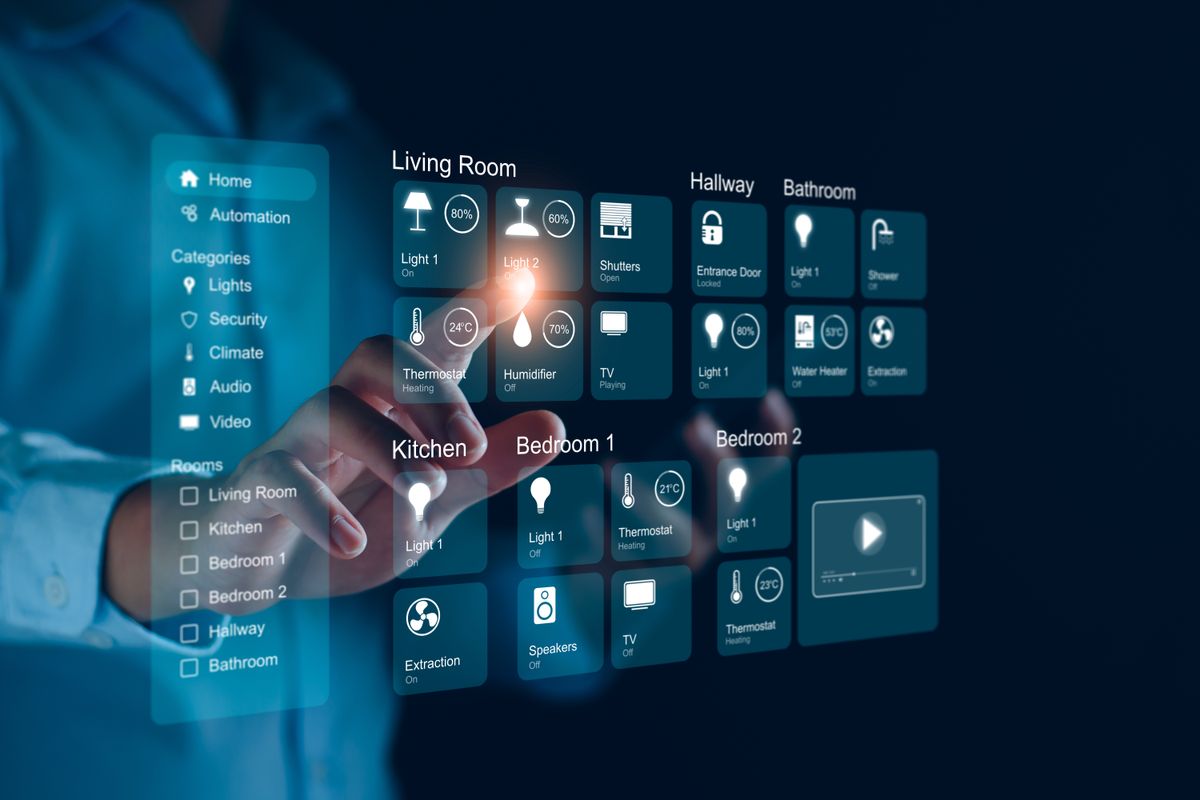
One of the things that I desired to create early on for my Home Assistant installation was a touchscreen control. I wanted to mount this touchscreen somewhere centrally in my house so that the whole family could easily interface with the smart home. After looking at many different touchscreens available online and not knowing exactly what I wanted, I was conversing with a friend of mine. I was telling him about this next home automation project I was working on when he mentioned that he had just removed a touchscreen from a kiosk he was servicing, and it just happened to still be in working order. Voilà, I had found my touchscreen.
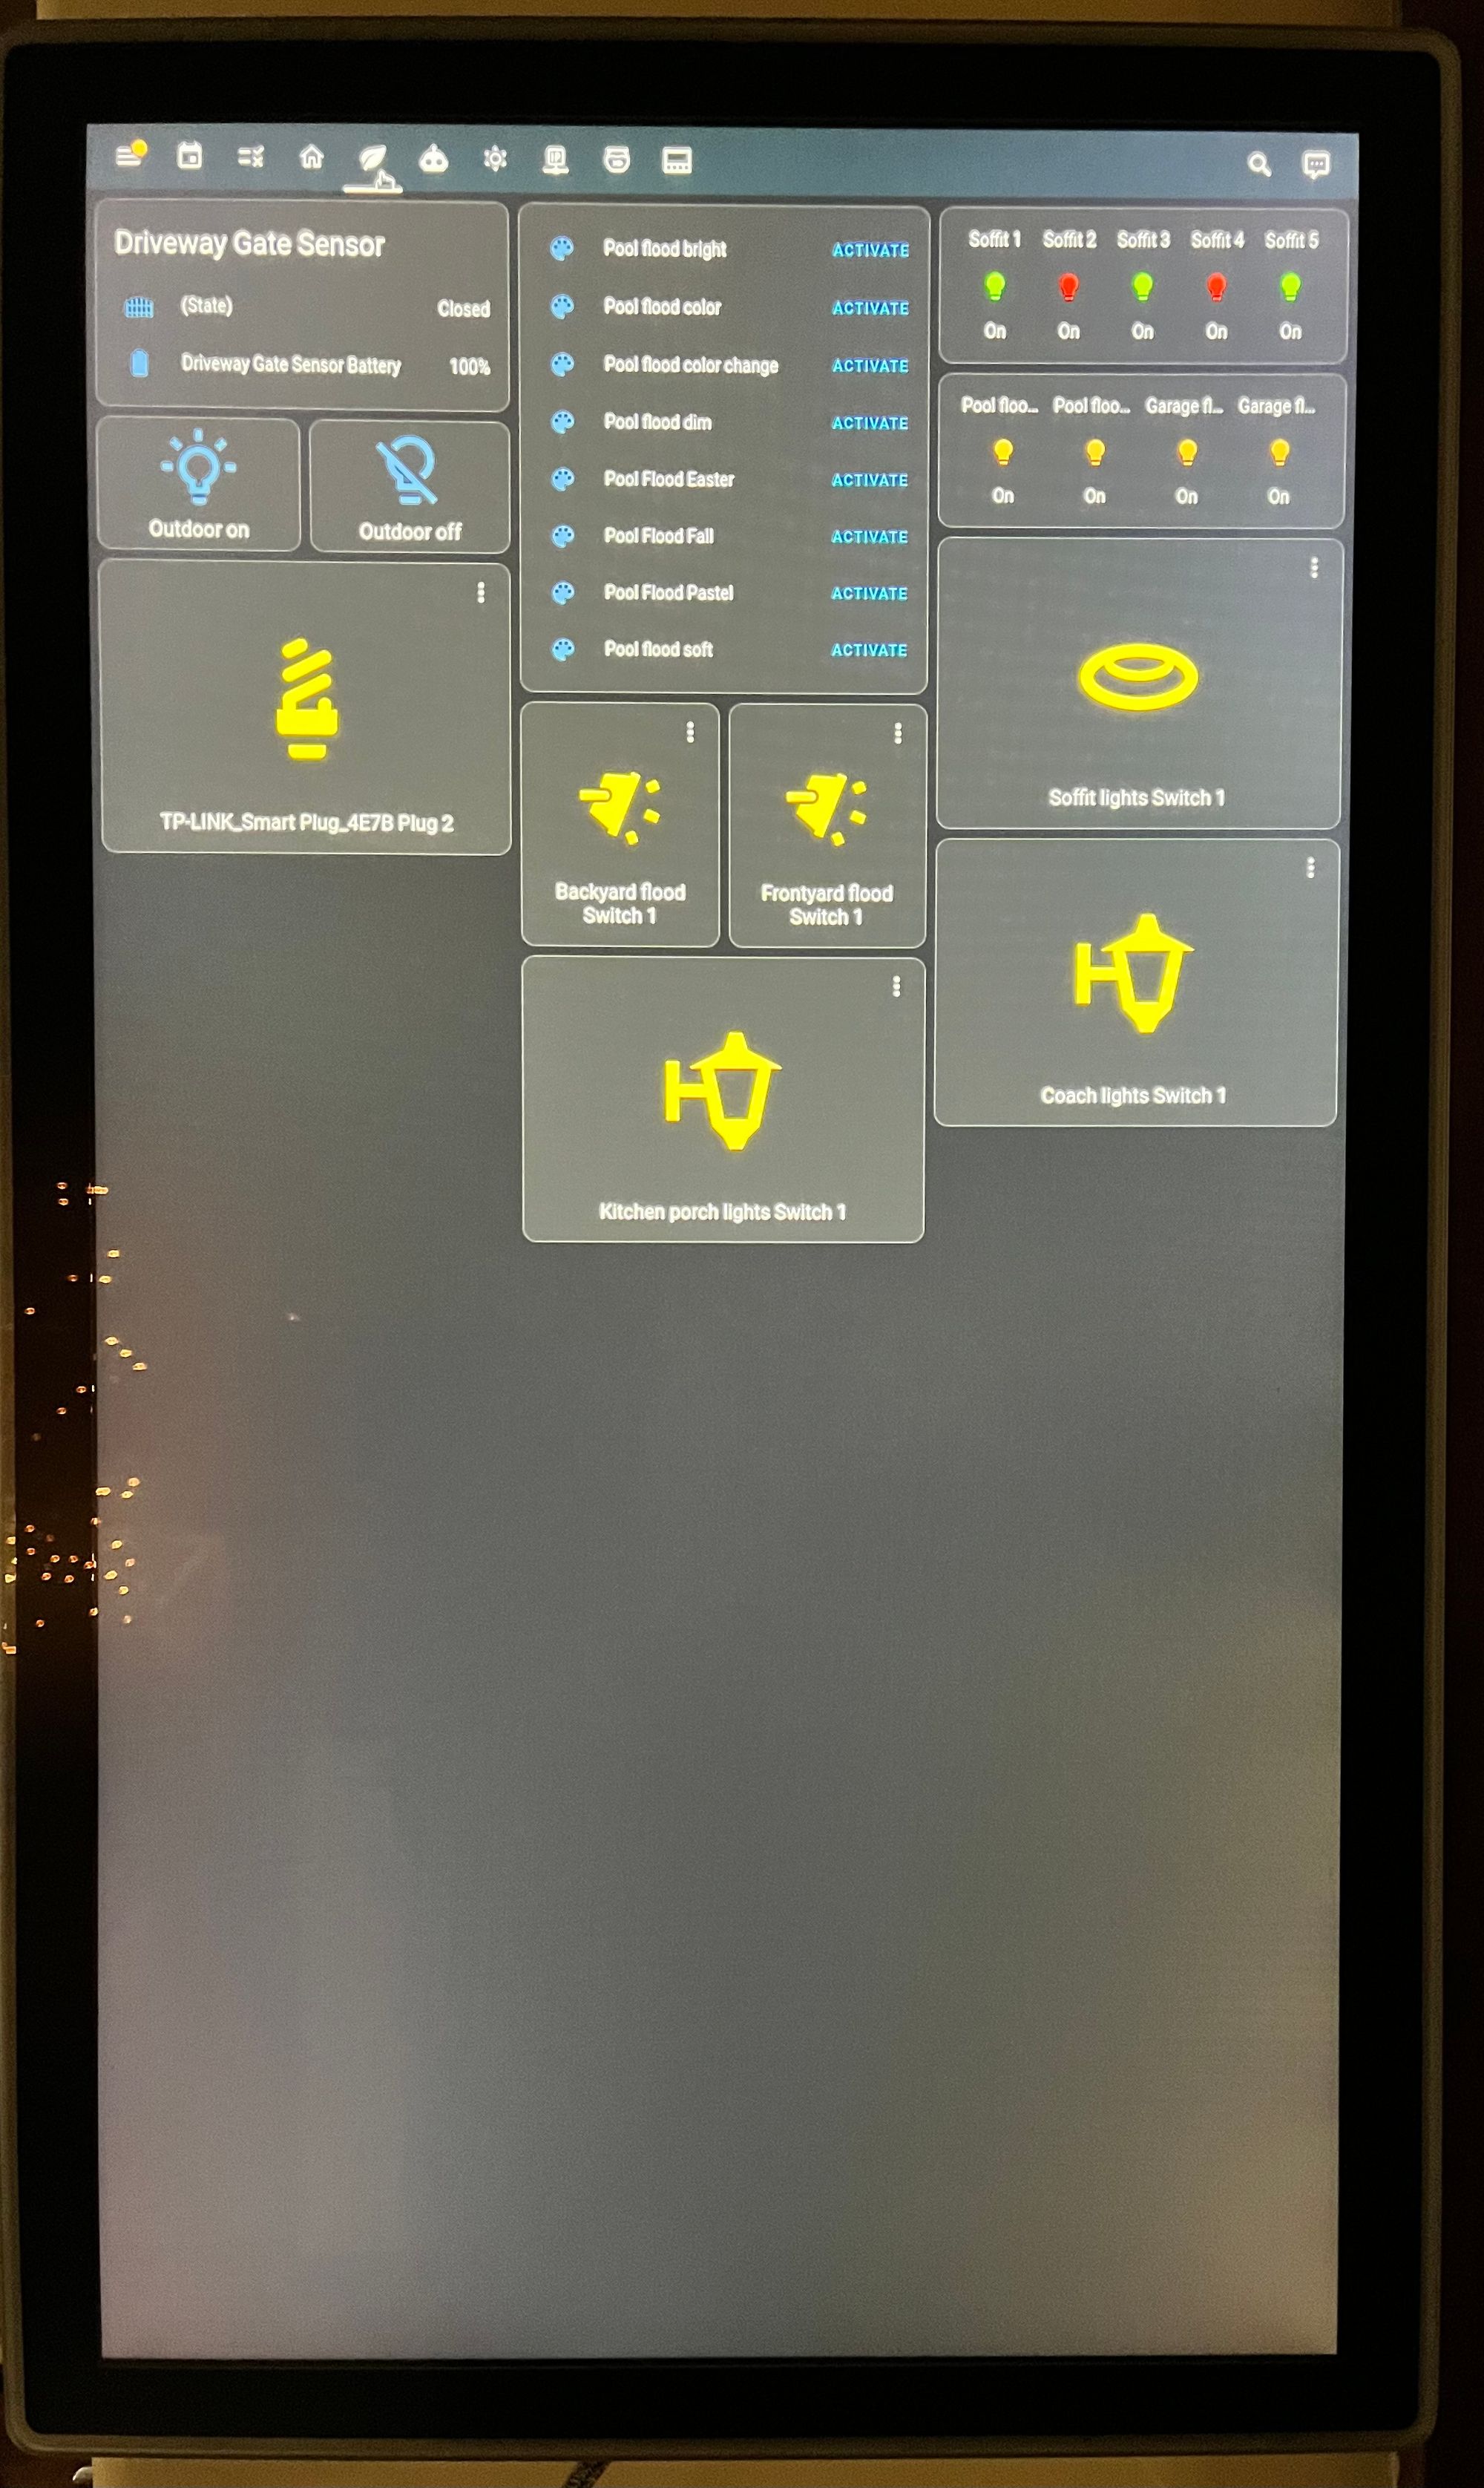
This is an EFFINET 27'' TFT LCD touchscreen monitor. You can find similar monitors on eBay. They are typically used in the gaming and kiosk industries. Here is a link to one that sold on eBay. I was easily able to mount this to my wall with an LCD TV wall mount available at most electronics stores.
Problem number one was: how do I get my Home Assistant displayed on this wonderful monitor in my possession? Luckily, with an easy Google search, I realized I could use one of my gifted Raspberry Pi 3s to do exactly that. There is a great OS out there for Raspberry Pis called FullPageOS. Formatting an SD card for FullPageOS is very easy with the Raspberry Pi Imager. There is very good documentation on how to set up and configure the OS to load the webpage of your choice. In this instance, it would be our local Home Assistant that is being used. I won't go into a lot of detail about that because it is very well documented, and we have other problems to solve.
Problem number two was that I wanted to turn this monitor lengthwise. So, I had to figure out how to rotate the display 90 degrees. To make this even more difficult, since it’s a touchscreen, I also had to figure out how to rotate the touch interface 90 degrees. I did lots of Googling this time. There are many different ways to accomplish this through Linux commands, but I was lucky enough to stumble across a script that made it really easy. I have tried recently to find where I found this script so that I could give the author proper credit. Unfortunately, I was not able to find the posting for this particular script. It has a reference to the script and author it was created from, but it does not have the author who did the modifications. I will post the script here and publish it on my GitHub, but if the original author ever wants credit for this, I will gladly include that if they email me.
#!/bin/bash
#  Due to the new display driver in the pi 4 the /boot/config.txt method for screen rotation doesn't work this is a work around for the time being.
#  Taken from this gist https://gist.github.com/mildmojo/48e9025070a2ba40795c#gistcomment-2694429
#  Adds the ability to rotate the screen with a single command or in a user created addition at build time
#
if [ -z "$1" ] ; then
  echo "Usage: $0 [normal|inverted|left|right]"
  echo " "
  exit 1
fi

function do_rotate
{
  xrandr --output $1 --rotate $2

  TRANSFORM='Coordinate Transformation Matrix'

  POINTERS=`xinput | grep 'slave  pointer'`
  POINTERS=`echo $POINTERS | sed s/↳\ /\$/g`
  POINTERS=`echo $POINTERS | sed s/\ id=/\@/g`
  POINTERS=`echo $POINTERS | sed s/\ \\\[slave\ pointer/\#/g`
  iIndex=2
  POINTER=`echo $POINTERS | cut -d "@" -f $iIndex | cut -d "#" -f 1`
  while [ "$POINTER" != "" ] ; do
    POINTER=`echo $POINTERS | cut -d "@" -f $iIndex | cut -d "#" -f 1`
    POINTERNAME=`echo $POINTERS | cut -d "$" -f $iIndex | cut -d "@" -f 1`
    #if [ "$POINTER" != "" ] && [[ $POINTERNAME = *"TouchPad"* ]]; then    # ==> uncomment to transform only touchpads
    #if [ "$POINTER" != "" ] && [[ $POINTERNAME = *"TrackPoint"* ]]; then  # ==> uncomment to transform only trackpoints
    #if [ "$POINTER" != "" ] && [[ $POINTERNAME = *"Digitizer"* ]]; then   # ==> uncomment to transform only digitizers (touch)
    #if [ "$POINTER" != "" ] && [[ $POINTERNAME = *"MOUSE"* ]]; then       # ==> uncomment to transform only optical mice
    if [ "$POINTER" != "" ] ; then                                         # ==> uncomment to transform all pointer devices
        case "$2" in
            normal)
              [ ! -z "$POINTER" ]    && xinput set-prop "$POINTER" "$TRANSFORM" 1 0 0 0 1 0 0 0 1
              ;;
            inverted)
              [ ! -z "$POINTER" ]    && xinput set-prop "$POINTER" "$TRANSFORM" -1 0 1 0 -1 1 0 0 1
              ;;
            left)
              [ ! -z "$POINTER" ]    && xinput set-prop "$POINTER" "$TRANSFORM" 0 -1 1 1 0 0 0 0 1
              ;;
            right)
              [ ! -z "$POINTER" ]    && xinput set-prop "$POINTER" "$TRANSFORM" 0 1 0 -1 0 1 0 0 1
              ;;
        esac
    fi
    iIndex=$[$iIndex+1]
  done
}

XDISPLAY=`xrandr --current | grep primary | sed -e 's/ .*//g'`
if [ "$XDISPLAY" == "" ] || [ "$XDISPLAY" == " " ] ; then
  XDISPLAY=`xrandr --current | grep connected | sed -e 's/ .*//g' | head -1`
fi

do_rotate $XDISPLAY $1
Now that I had an easy way to rotate the display and interface, I had to find a way to make that happen when FullPageOS starts up. Luckily, there is a scripts directory in the home directory of FullPageOS located at /home/pi/scripts. This scripts directory has a file called startup_gui. This file configures and runs all the scripts needed by FullPageOS. To ensure that the screen is rotated the direction I want, all I had to do was create a file in the scripts directory for our script that rotates the display. I created a file called /home/pi/scripts/rotate.sh.
touch /home/pi/scripts/rotate.shEdit this file with your favorite editor and add the previous script.
chmod +x rotate.sh Before you can execute this script, you will also need to install the xinput dependency and export your display as follows.
sudo apt-get install xinput
export DISPLAY=:0
The last thing to do is make sure that this script is run at startup. This is very easy by editing the /home/pi/scripts/startup_gui. The last line of this file runs the binary to start FullPageOS. I simply inserted a line right before that to run my rotate command.
...
/home/pi/scripts/rotate.sh right

/home/pi/scripts/run_onepageos
I rotated my screen 90 degrees to the right, but you can rotate it as you please.
Here are a few more pictures of my the monitor and my installation.
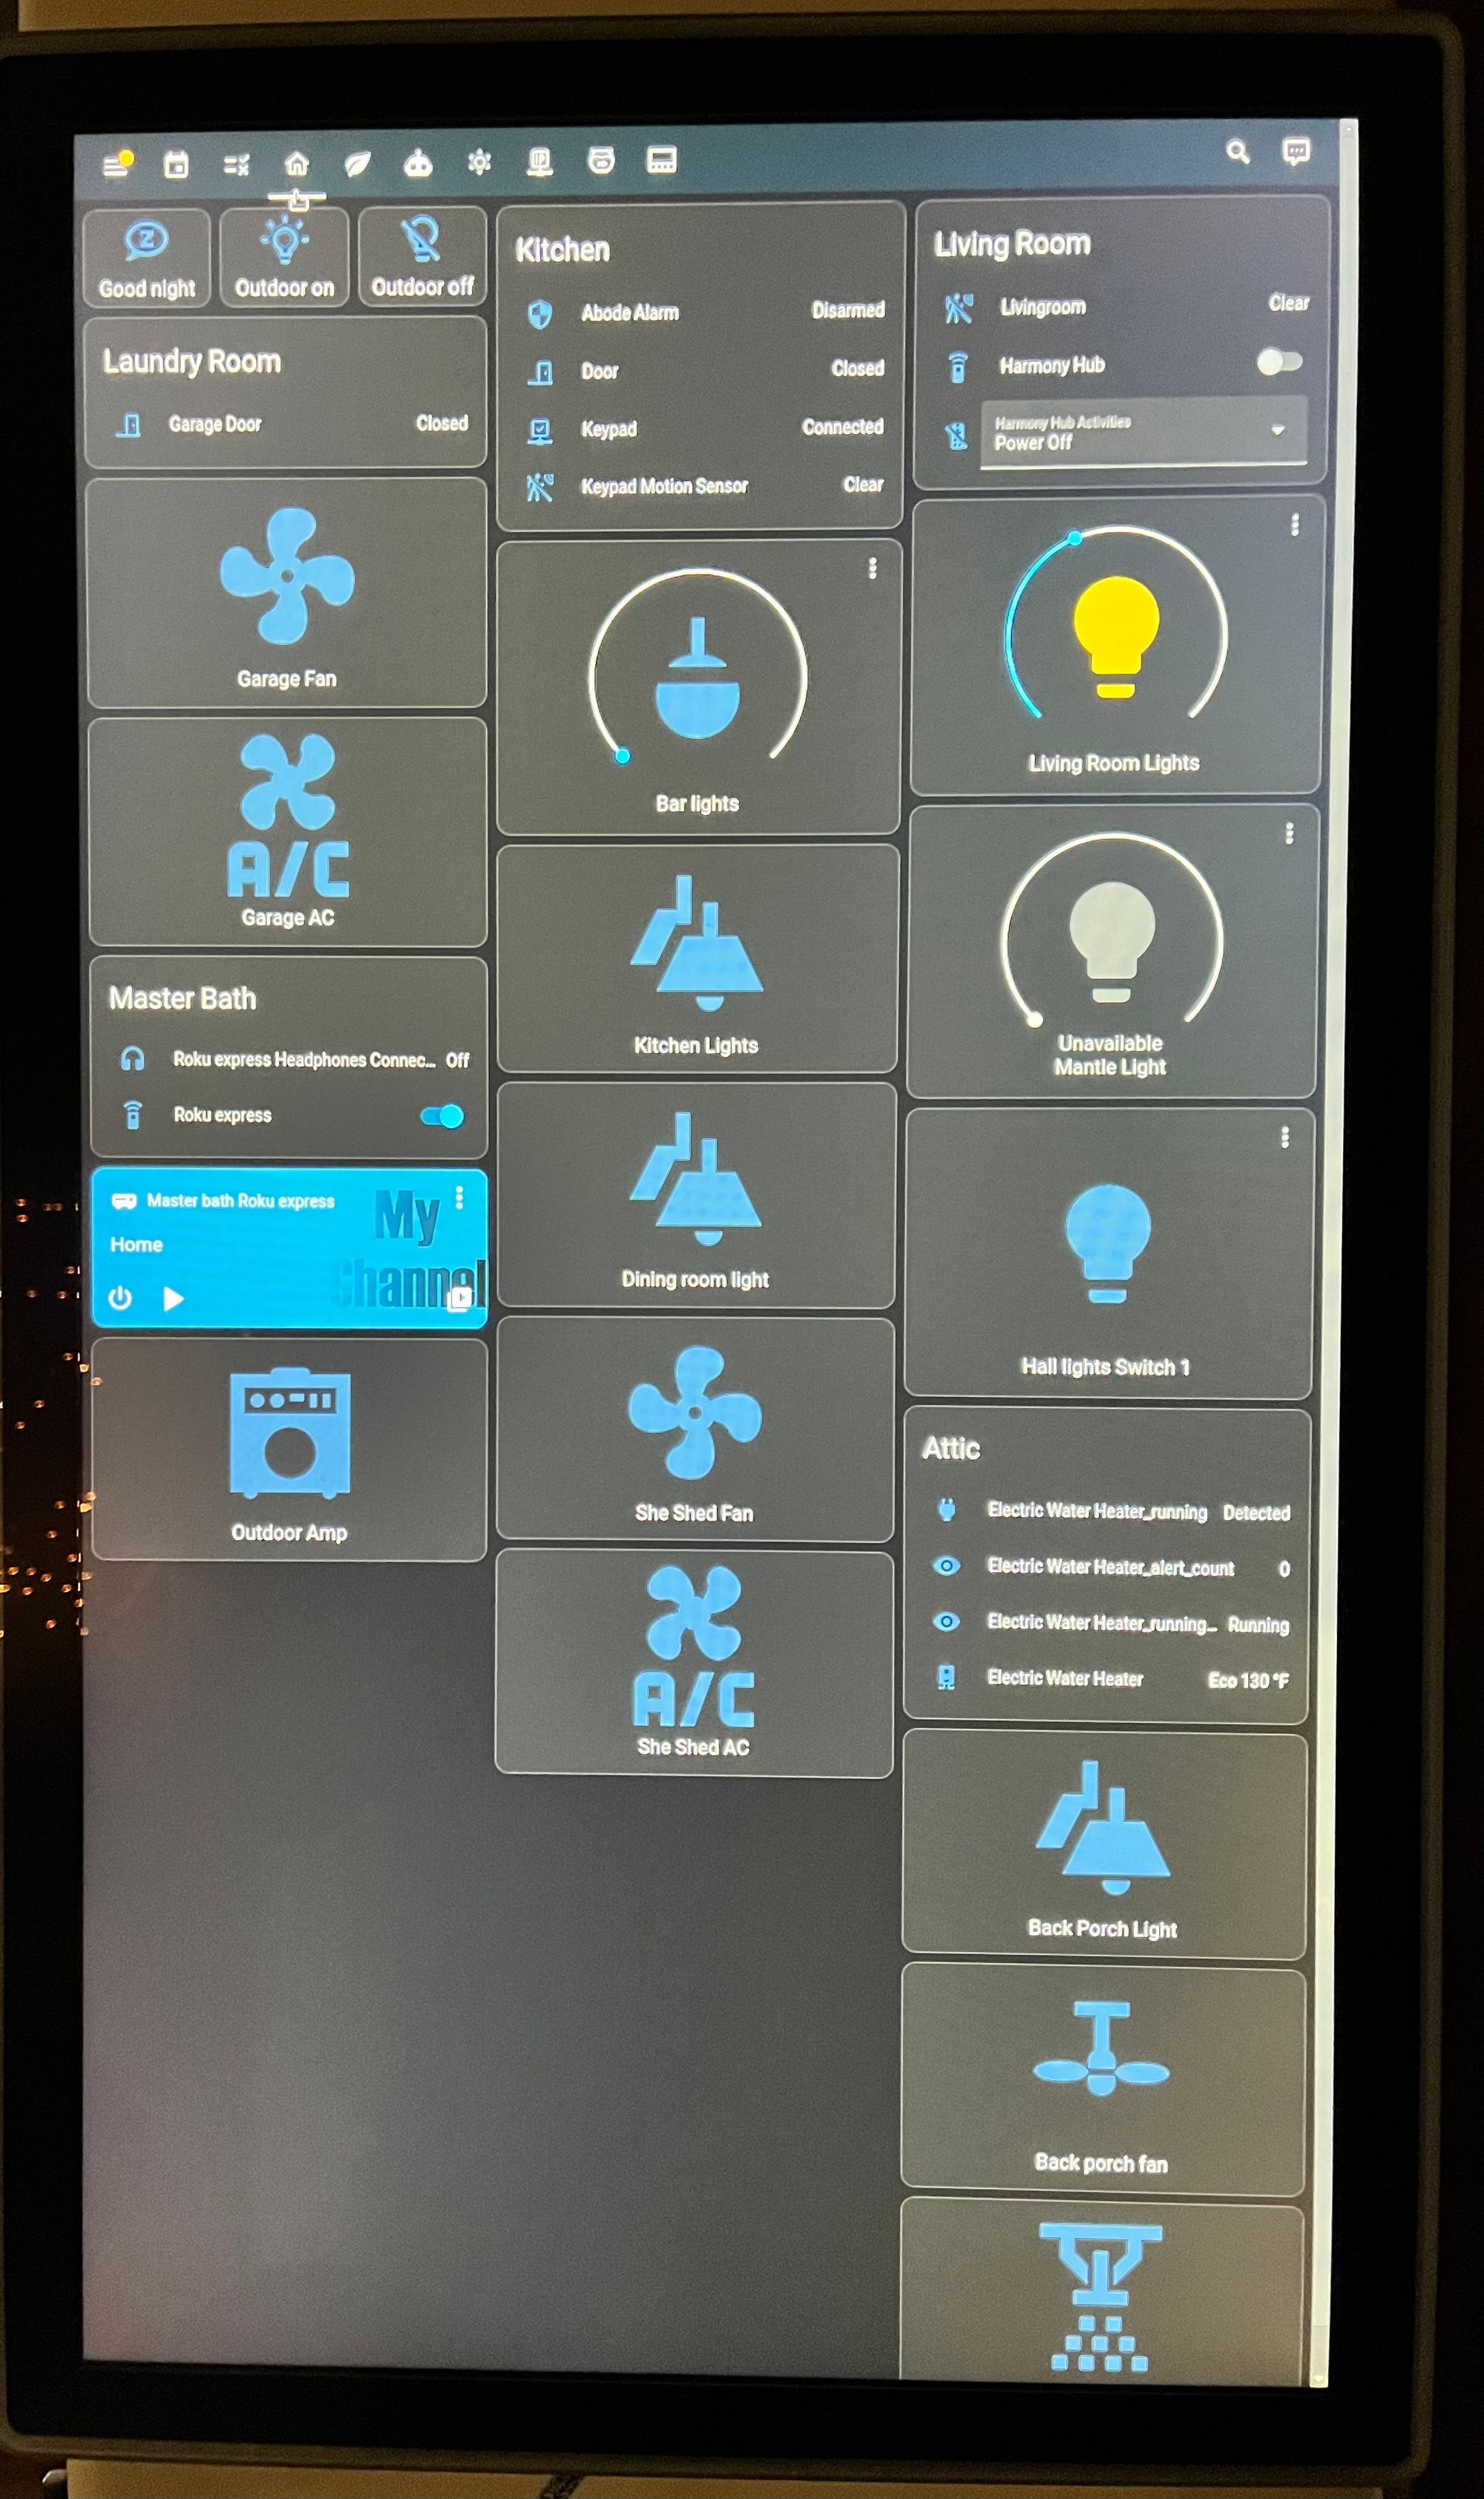
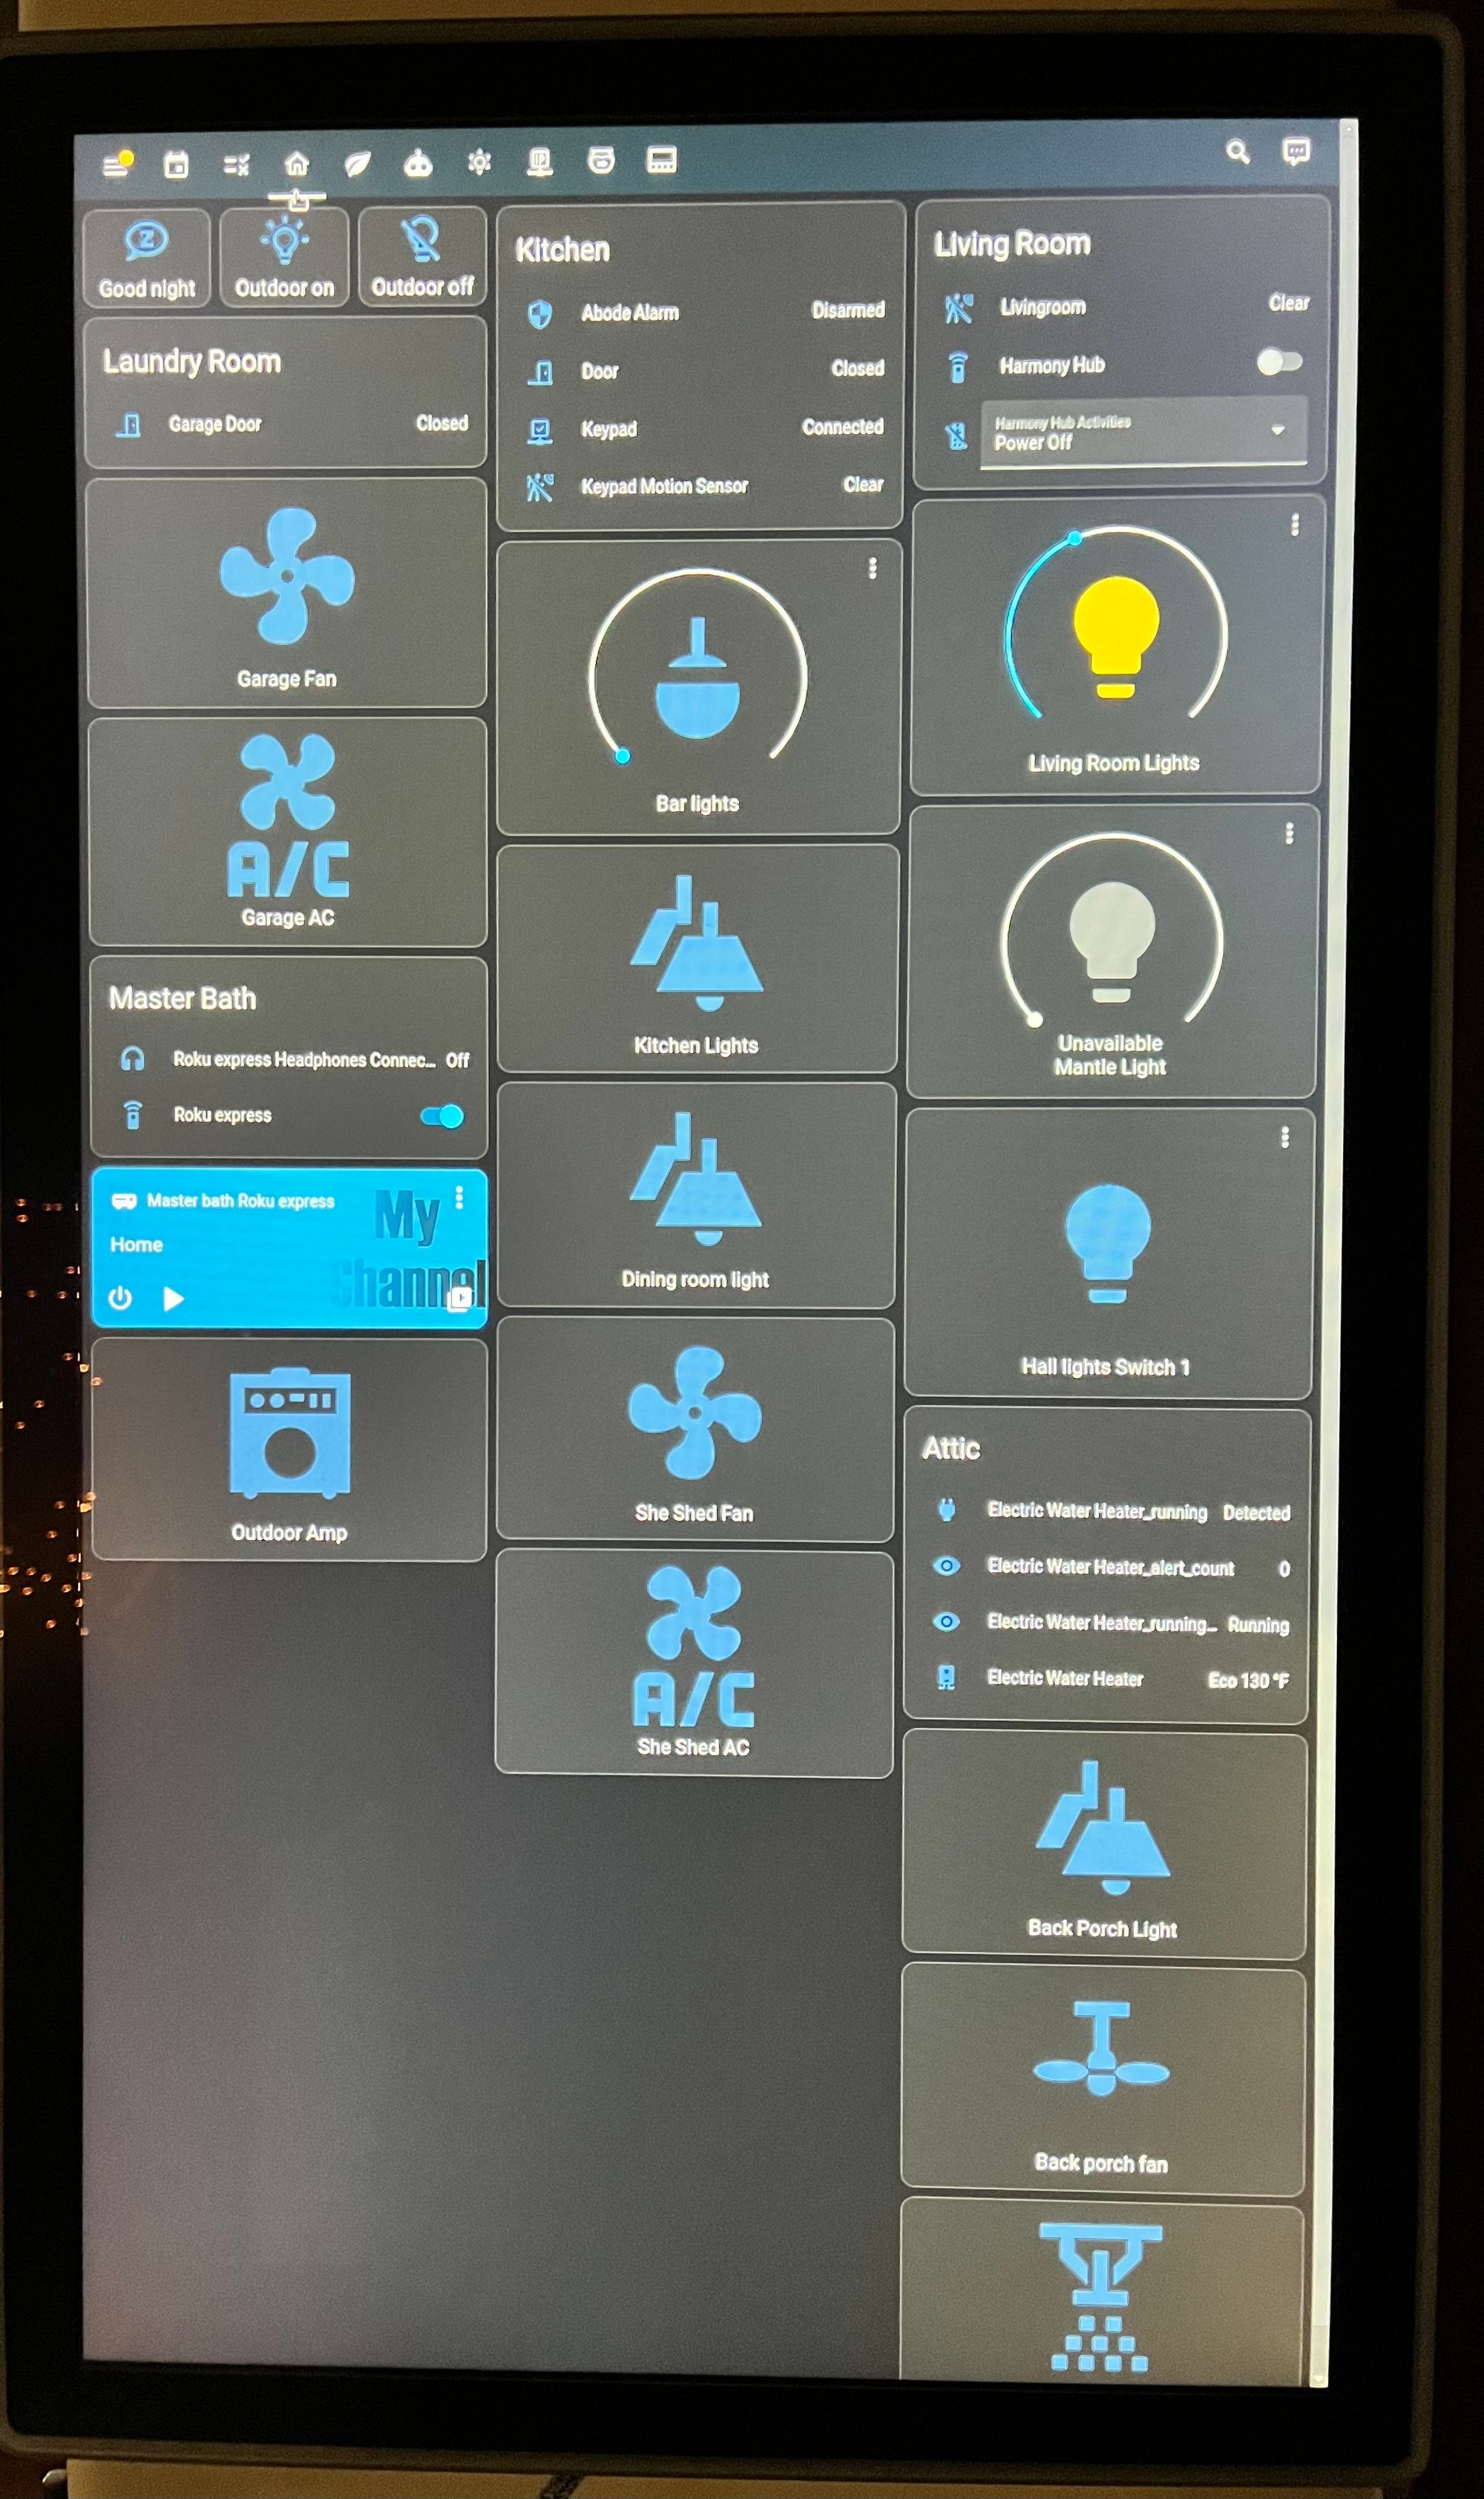
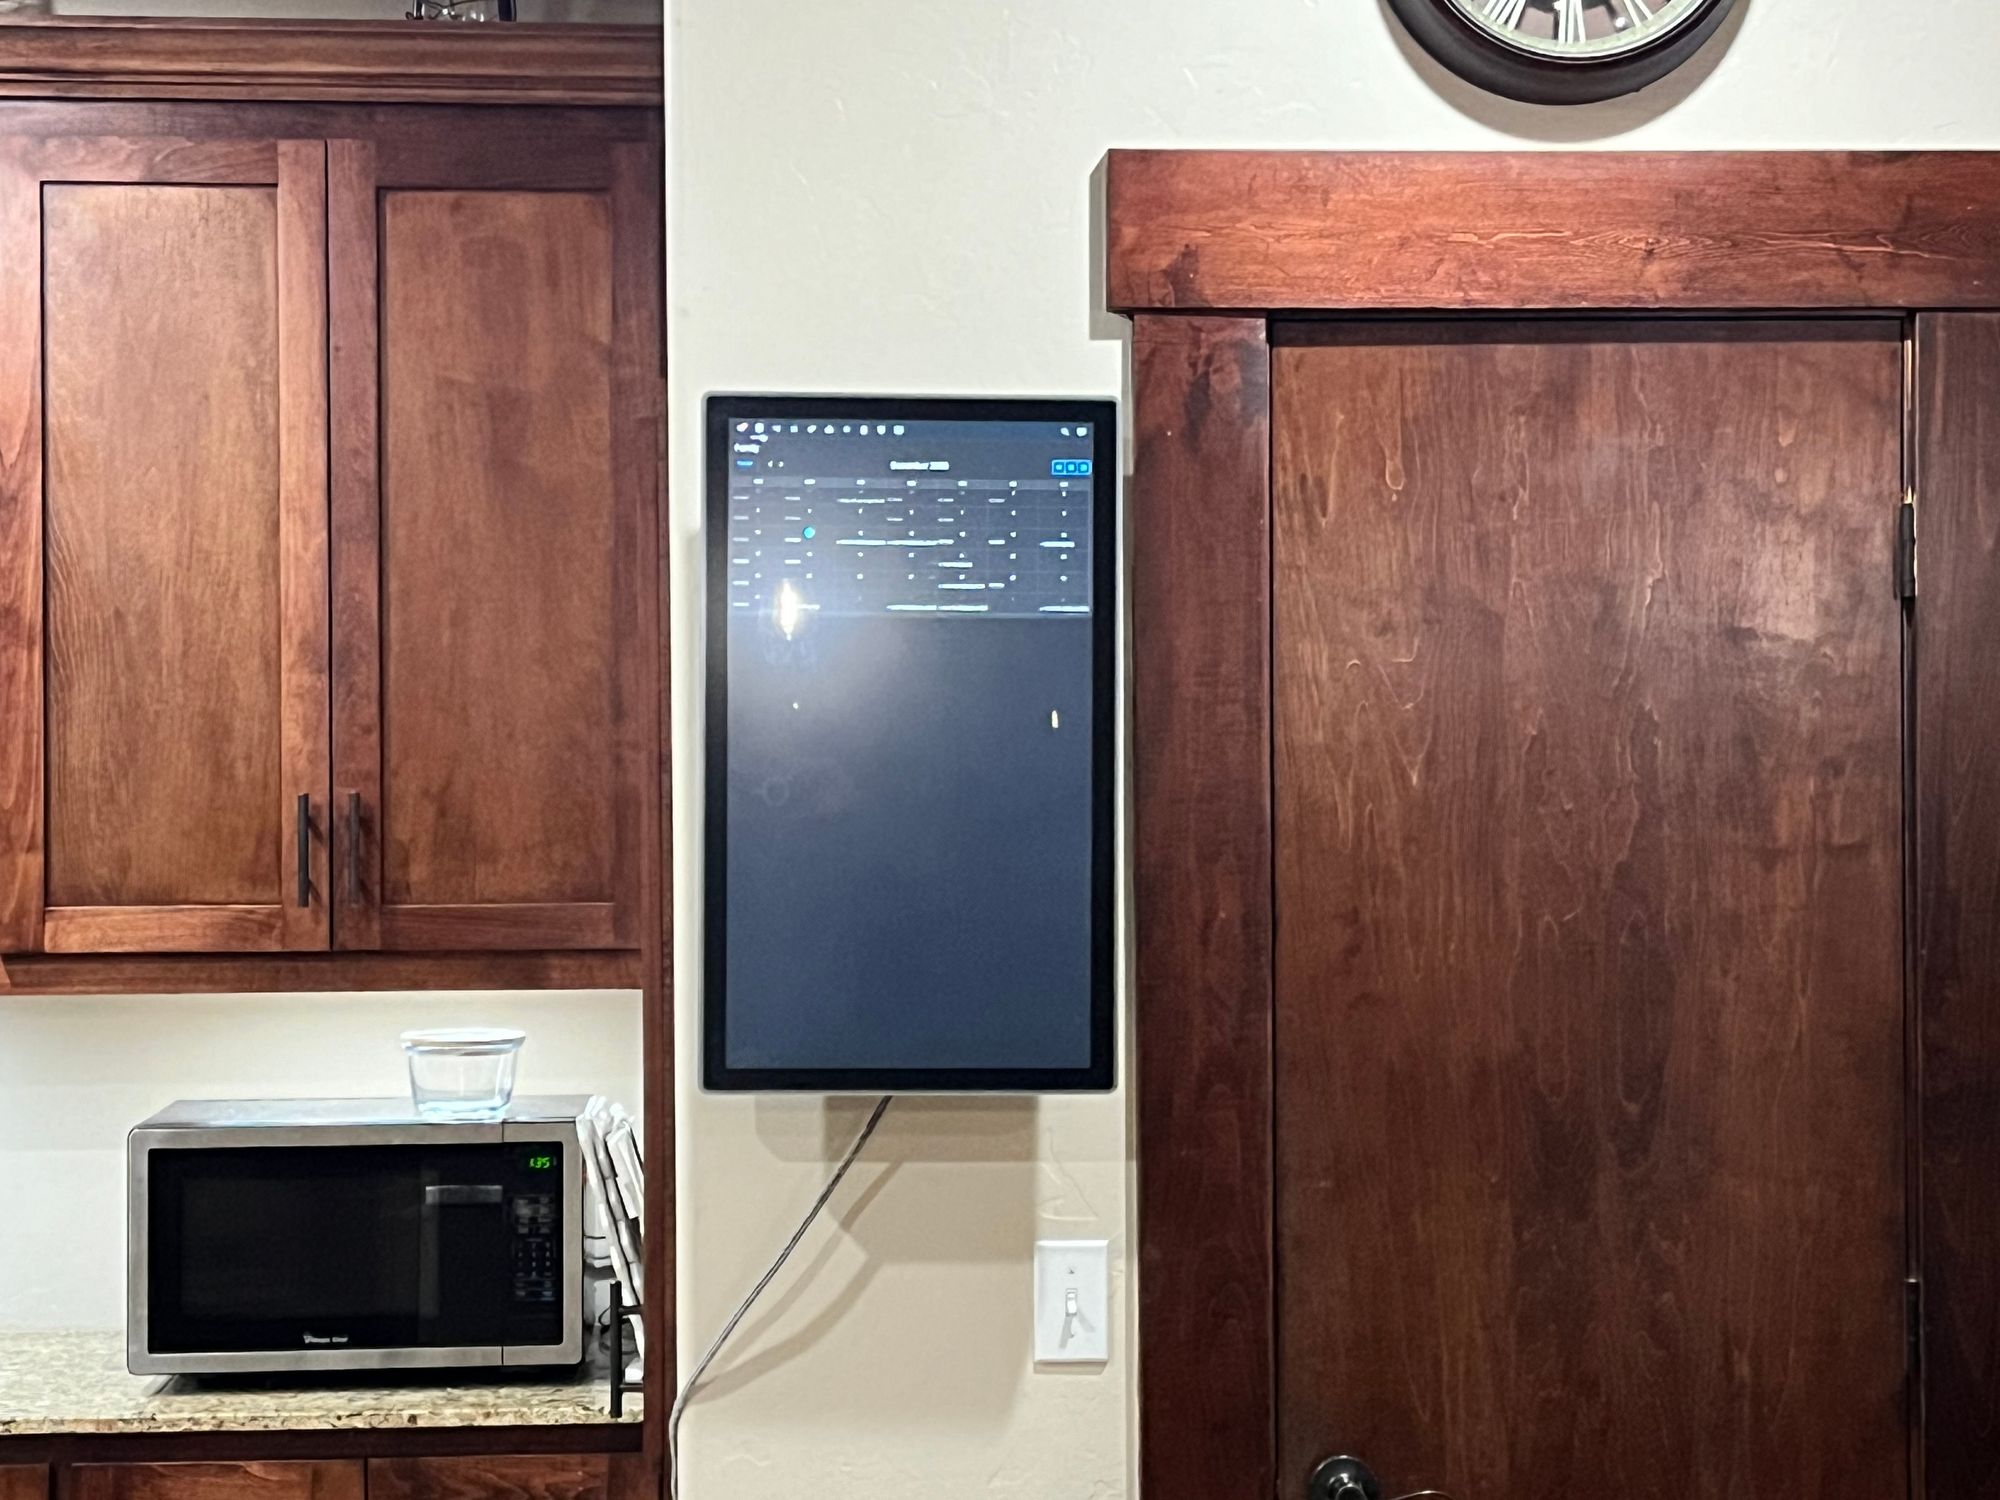
I still need to add a plug behind the monitor and frame it with some nice trim. Hopefully, I will have time to do that soon. The Raspberry Pi is attached to the back with some double-sided industrial tape.
I hope this article on how I accomplished my Home Assistant touchscreen control is helpful!