Home Automation Kubernetes Cluster
So, I will be honest with you: this article right here is the whole reason I started my blog. I have a need to move all of my home automation components to a more reliable and scalable solution. Given my current background, I decided that would be a home Kubernetes cluster. This whole journey started when I realized that I needed to run InfluxDB for my home energy monitoring and then continued on when I realized my Raspberry Pi running Home Assistant was less fault-tolerant than I desired. With that in mind, I started building my own home Kubernetes (K8s) cluster.
When looking for an OS to run, I was really looking for something that was Kubernetes-specific. That’s all that I want to run—I don’t need the rest of a typical Linux system and didn’t want the headache of having to keep it patched. There are lots of options out there, but I landed on Talos Linux (https://www.talos.dev/). I don’t want to muddy this article with all the reasons for my decision, but what I will say is that Talos Linux is a very good, immutable, purpose-built Linux distribution.
Once I decided what Linux OS I wanted to run, it was time to decide what SBC board I wanted to use. Since I had decided to use Talos, I started with the boards that they had support for. Looking at the specs for the boards they support, I decided I really liked the Rock 4 line of boards. I settled on the Rock 4SE. They have the same footprint as a Raspberry Pi but offer better specs and are a bit more readily available. They also support POE with the addition of a simple hat and allow for an M.2 SSD. I wanted to stay with the footprint of a Raspberry Pi because it made selecting cases a bit easier.
When it came to case selection, there were lots of options, but I wanted something that I could easily swap boards in and that had a spot for a POE switch. I ended up settling on the Uctronics Raspberry Pi enclosure. For this build, I went with the desktop model, but they also make a rack-mount model.
For my Kubernetes cluster, I chose a PoE switch from TP-Link due to its reliable performance and compatibility with the setup's requirements. TP-Link also stood out for its support of Matter, a critical standard in smart home interoperability, which aligns with my focus on building systems that integrate seamlessly into modern connected environments. Additionally, I’ve found their smart light switches to be particularly effective in my own experience, offering functionality that fits well into a home automation ecosystem.
There are more components I needed, but once I selected the major components, the subcomponents were easier to choose, so I won’t go into detail about the reasoning behind those. Maybe in a future article, I will cover why I made some of these decisions, but if I did that here, this article would be way too long.
Let’s get to the good stuff and build a Kubernetes cluster. First, I’m going to list all the major components needed to build this. Then, I will get into the build details, and in a follow-up post, I will talk about the software installation and some of the ongoing issues that need to be addressed. Without further ado, here is the build list.
Product List
| Product | Quantity | Link |
|---|---|---|
| Rock 4 SE | 4 | Link |
| M.2 extension board | 4 | Link |
| Rock 4 SE POE hat | 4 | Link |
| 128 GB SD card | 4 | Link |
| 1 TB NVMe SSD | 4 | Link |
| Uctronics case | 1 | Link |
| POE switch | 1 | Link |
| Heatsinks | 1 | Link |
| 0.5 ft POE Cat 6 cables | 1 | Link |
Note: You might also need some standoffs, like these: Link.
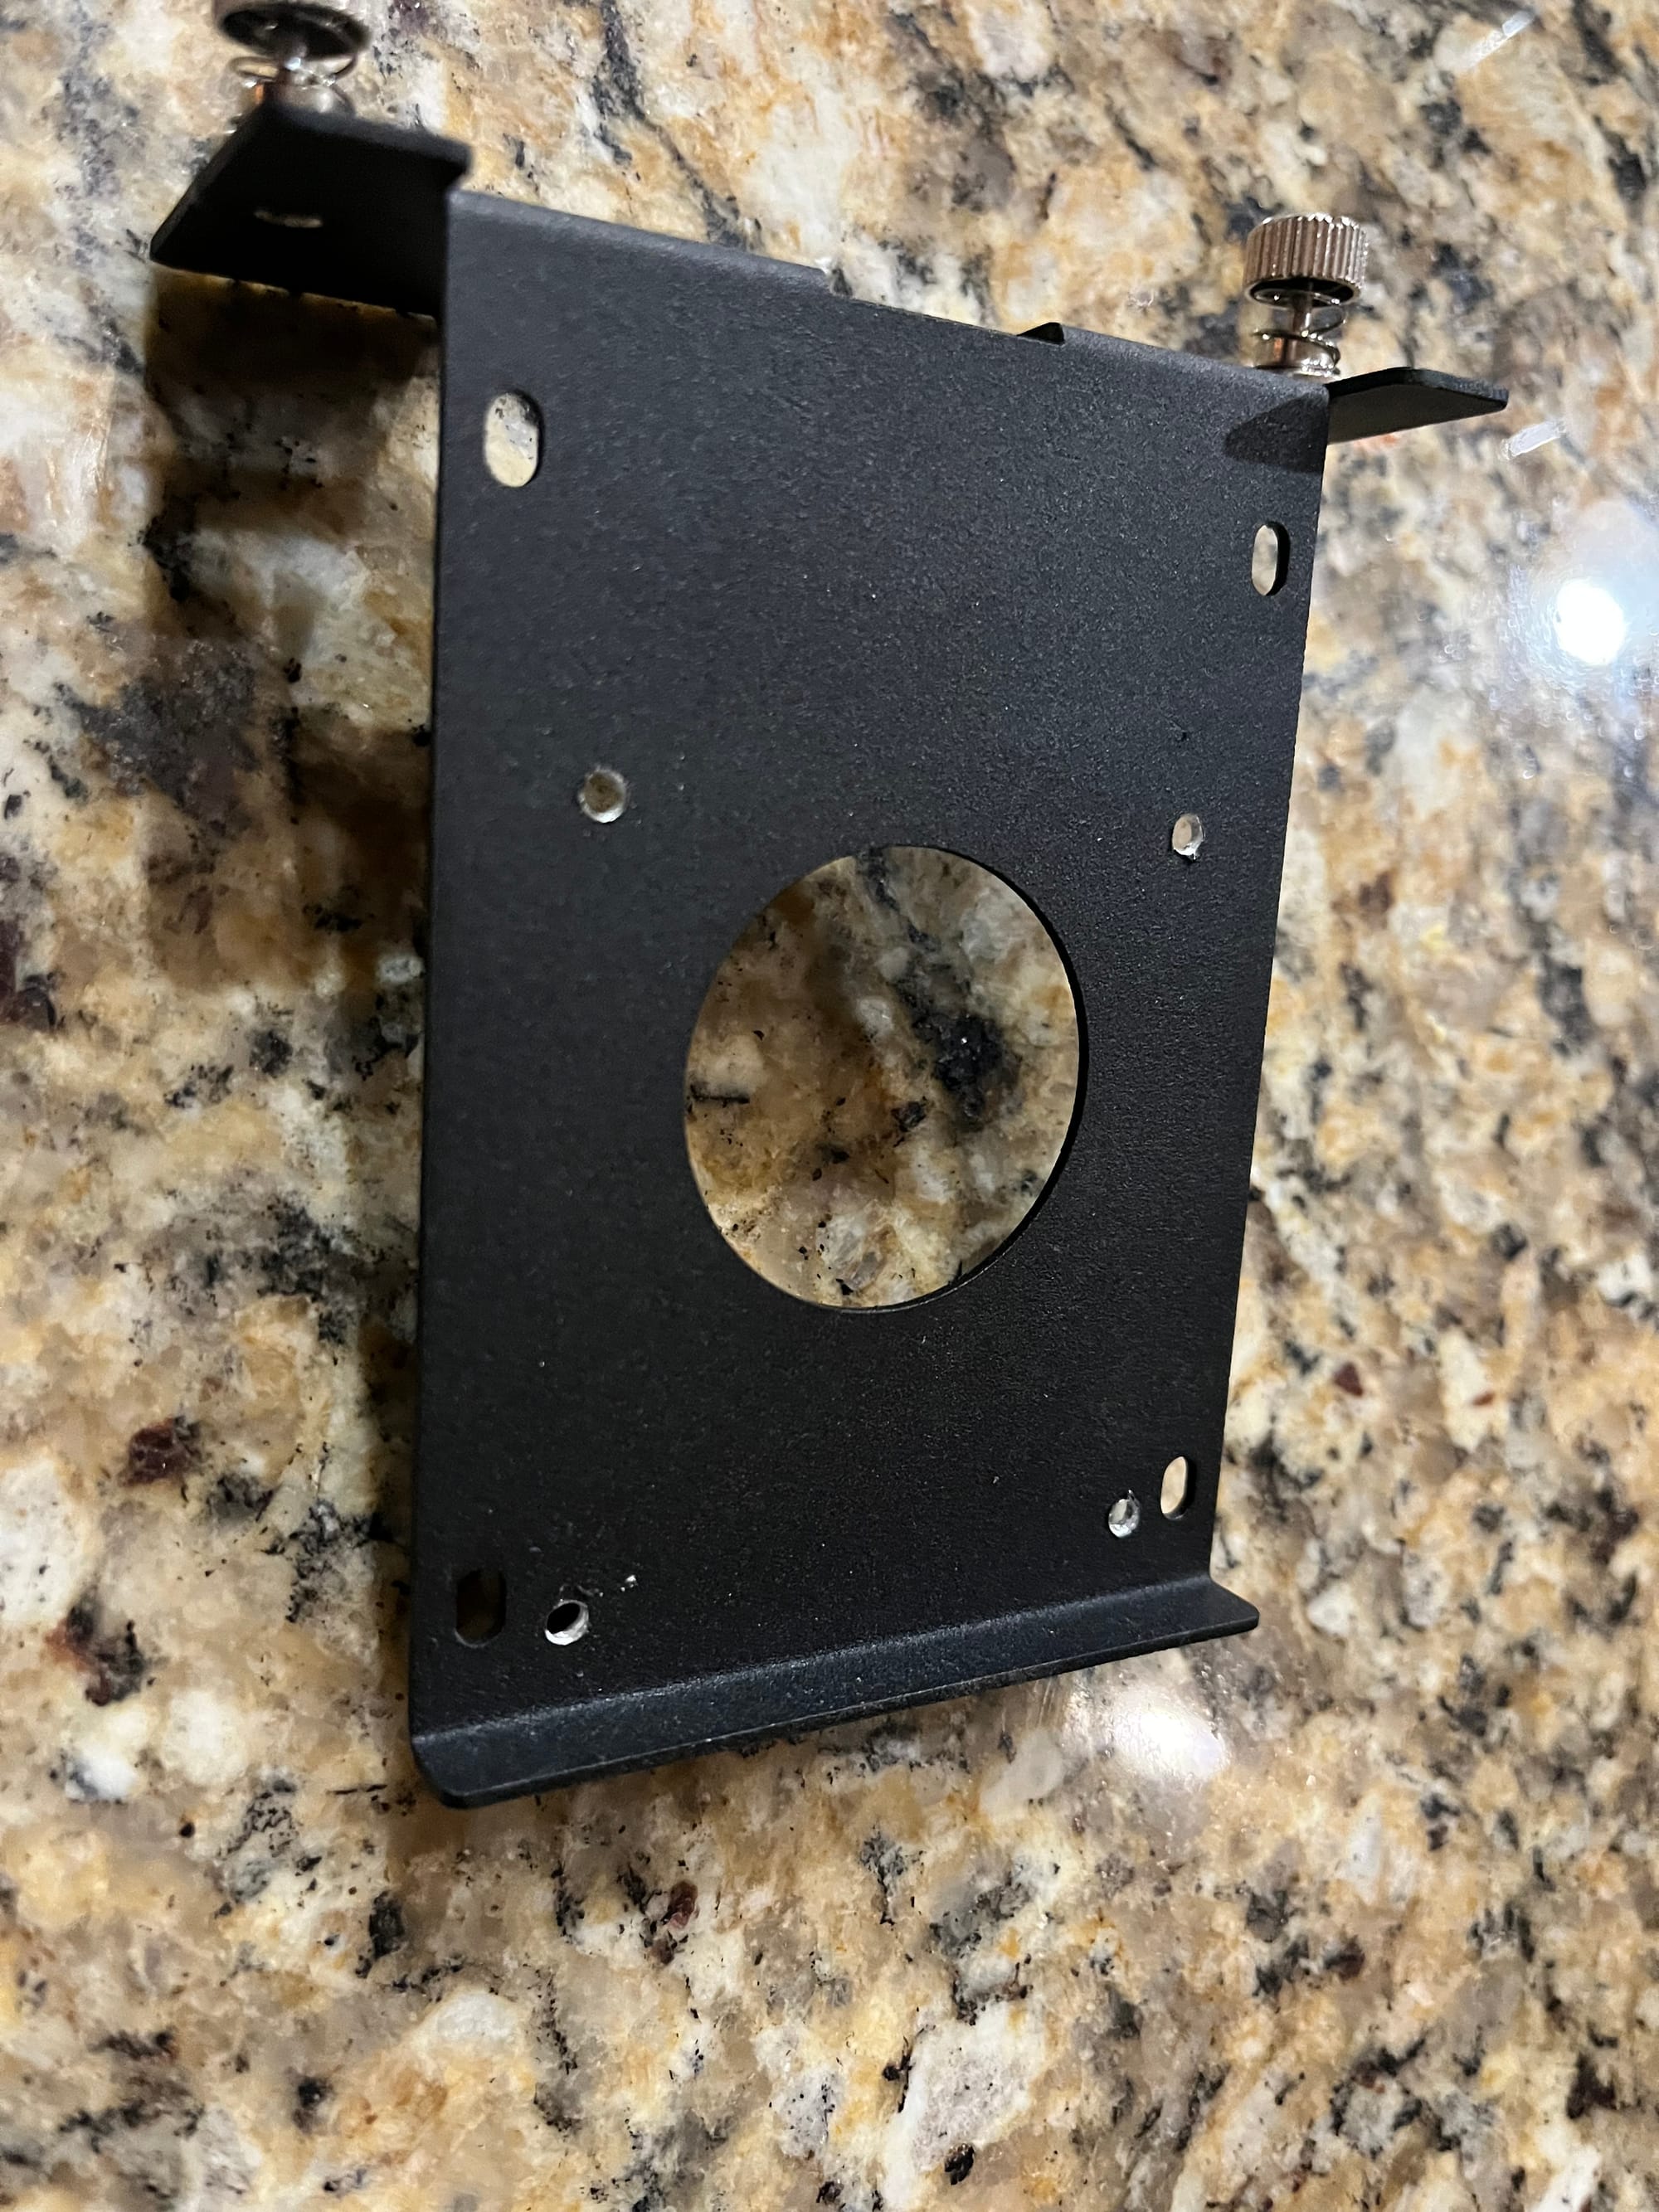
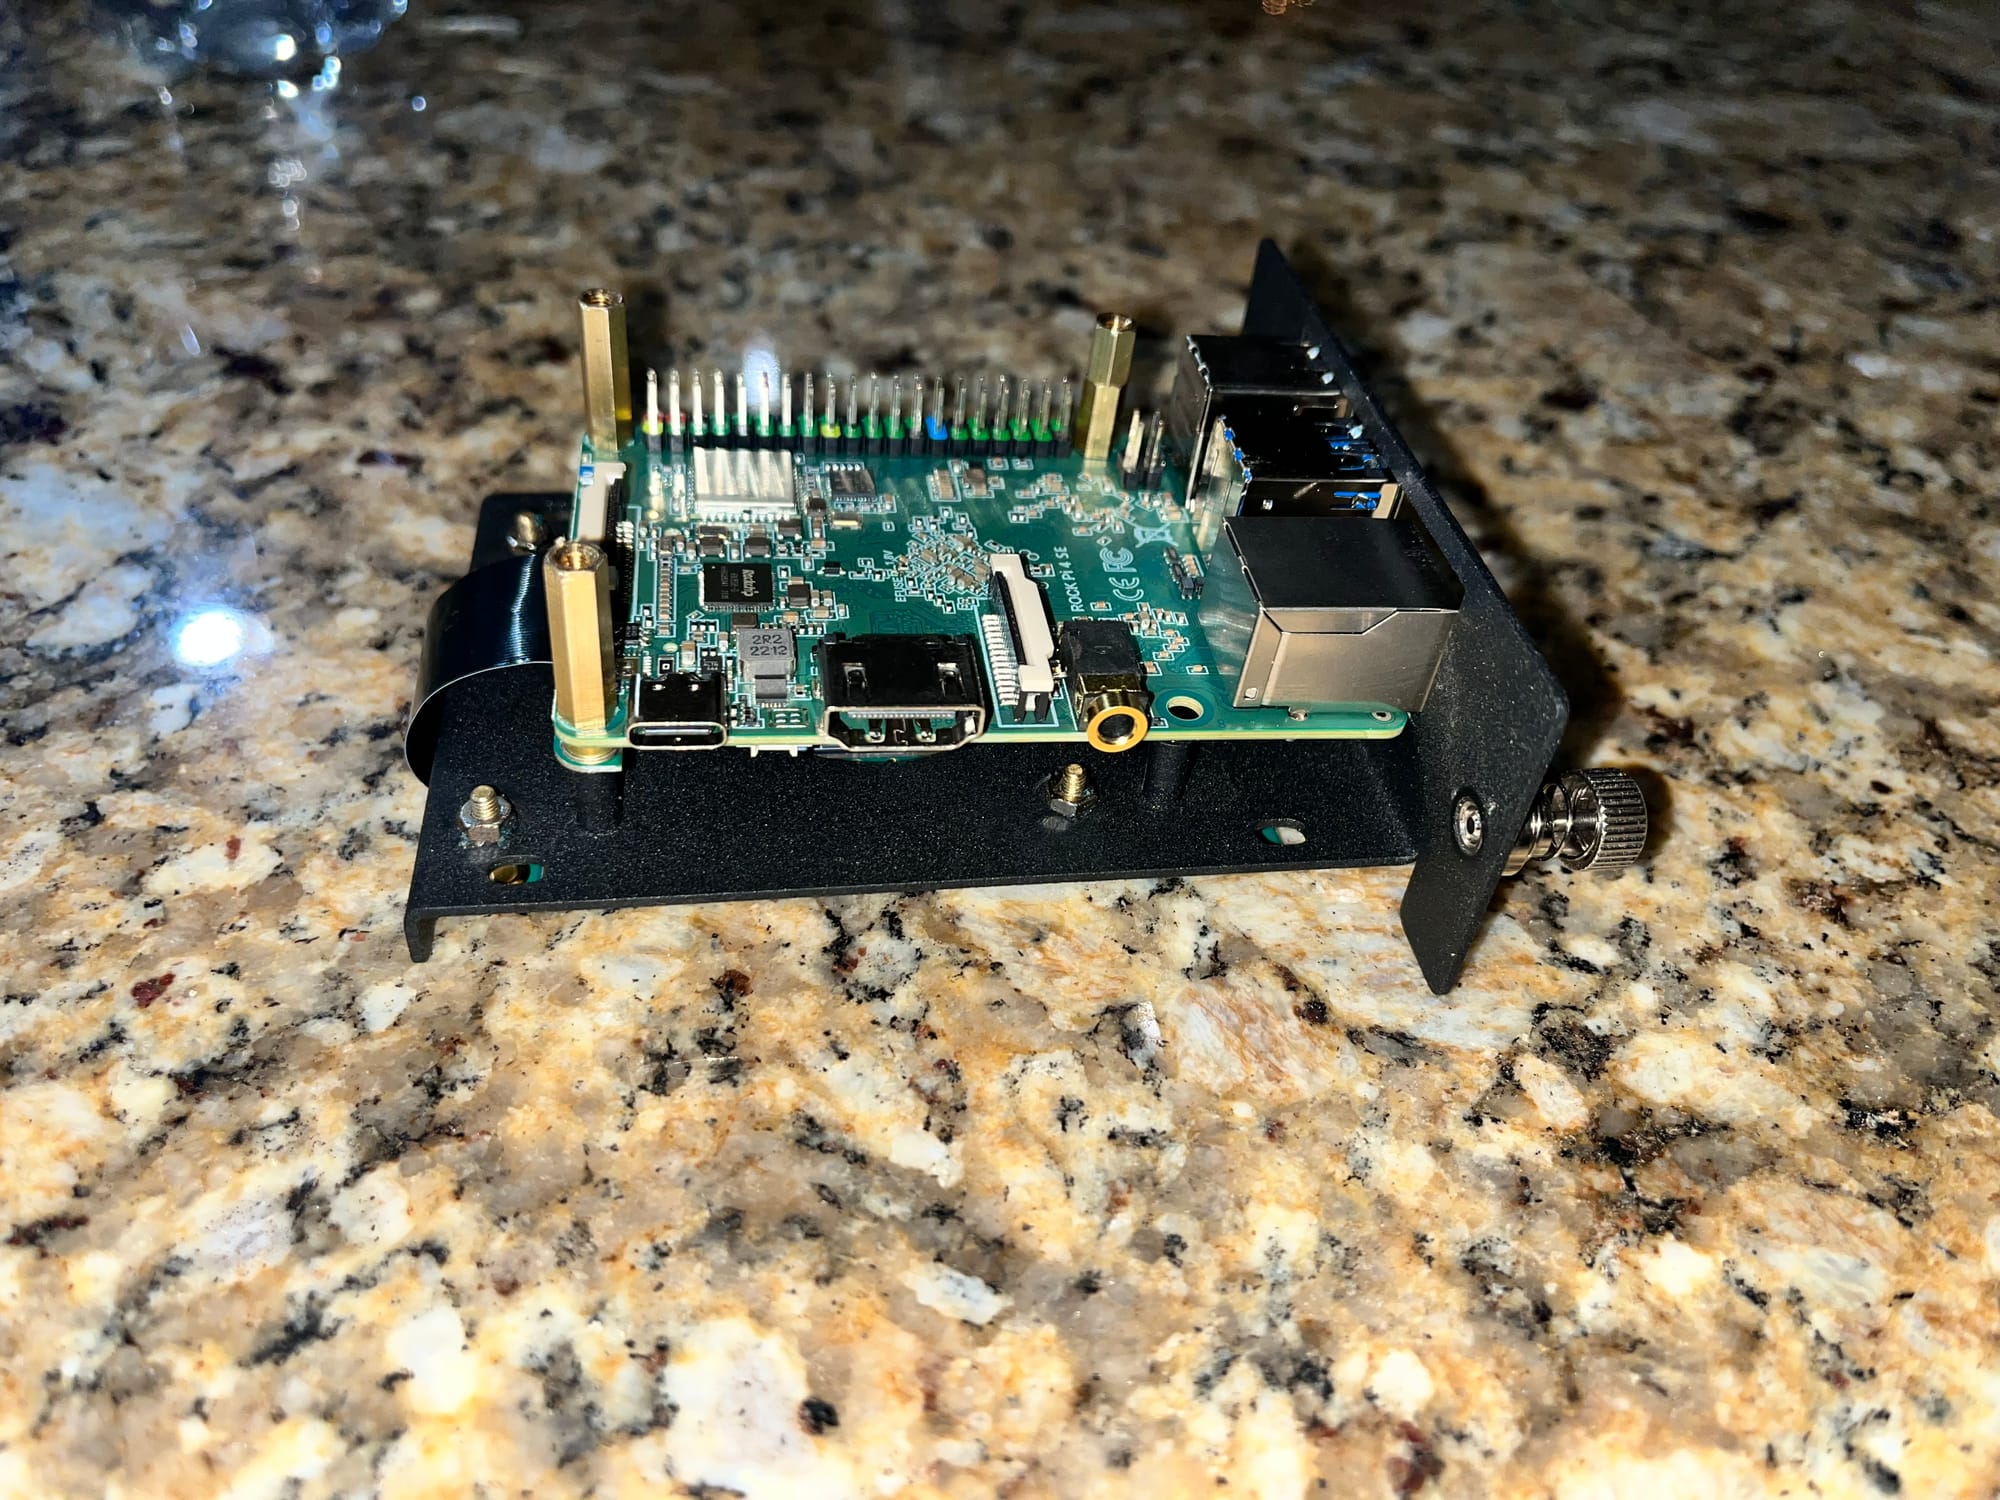
Now comes the time for assembly. The case is built for Raspberry Pis, so the Rock 4SE fits fairly well. Really, the only issue is that the case is designed for a standard 2.5" SSD on the back, not an M.2 SSD board. It is also a bit tight when finally assembled, it could use just a little more room to swap boards out easily. With that in mind, I proceeded to mount the Rock 4SE board with the M.2 extension attached so that I could measure where to put standoffs on the backside of the sled.
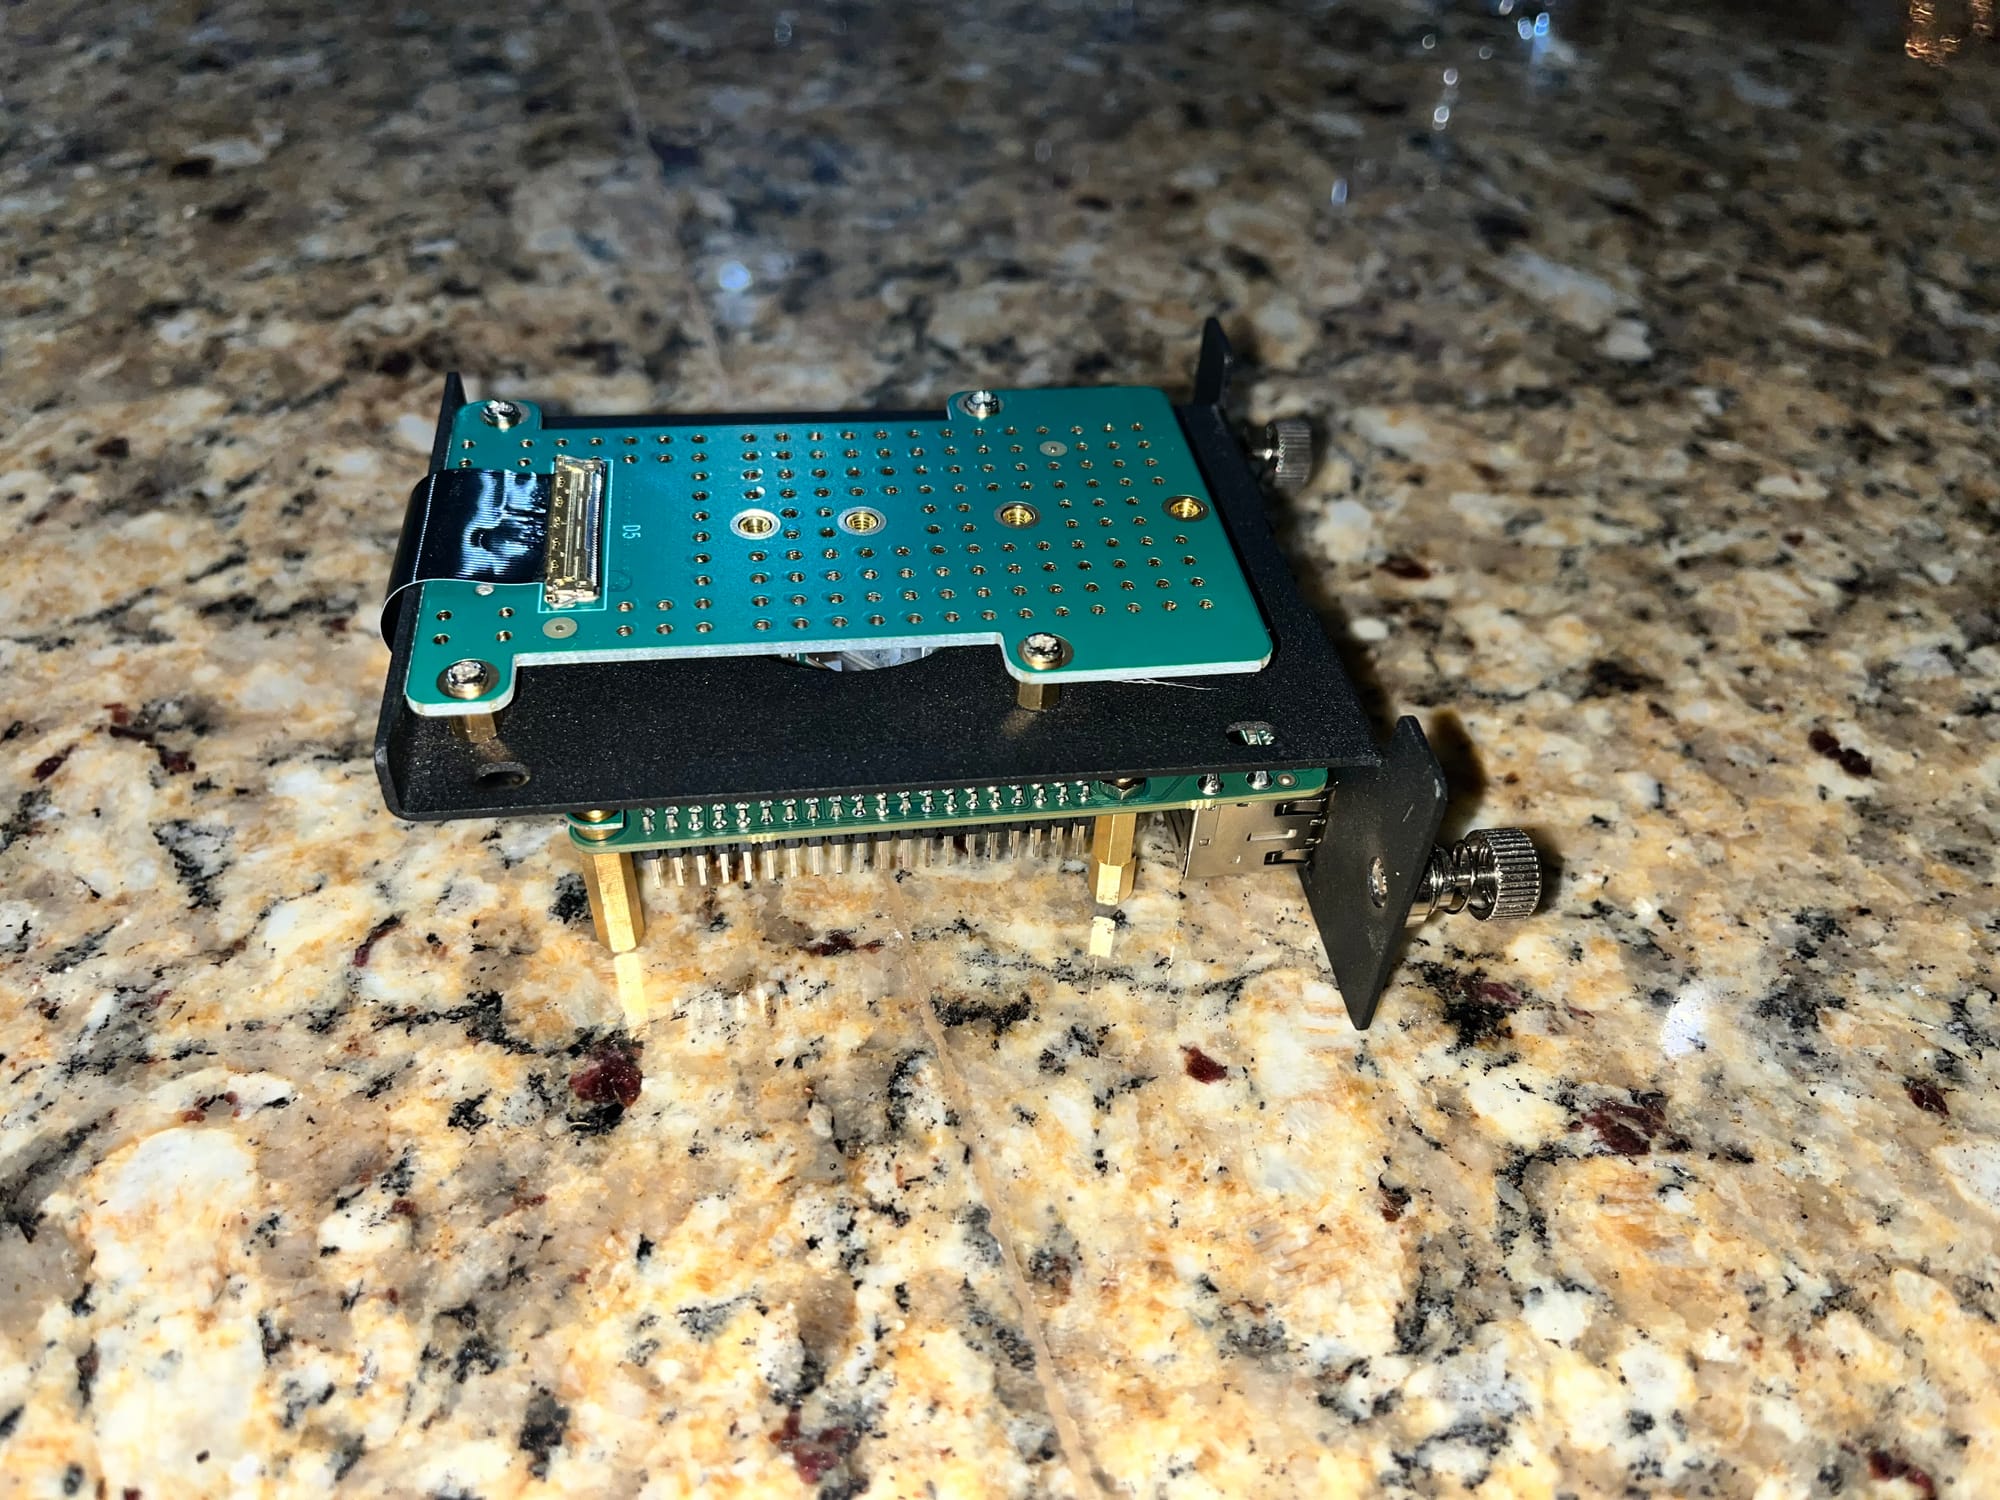
With the Rock 4SE board attached and the M.2 extension connected but free-hanging, I wrapped the M.2 extension around to the back and marked where to drill holes with a pencil. I don’t know exactly what size holes I drilled in the sled to mount the standoffs for the M.2 extension board because I have a whole box of drill bits and just used the one that was closest. Then I drilled the holes that I had marked.

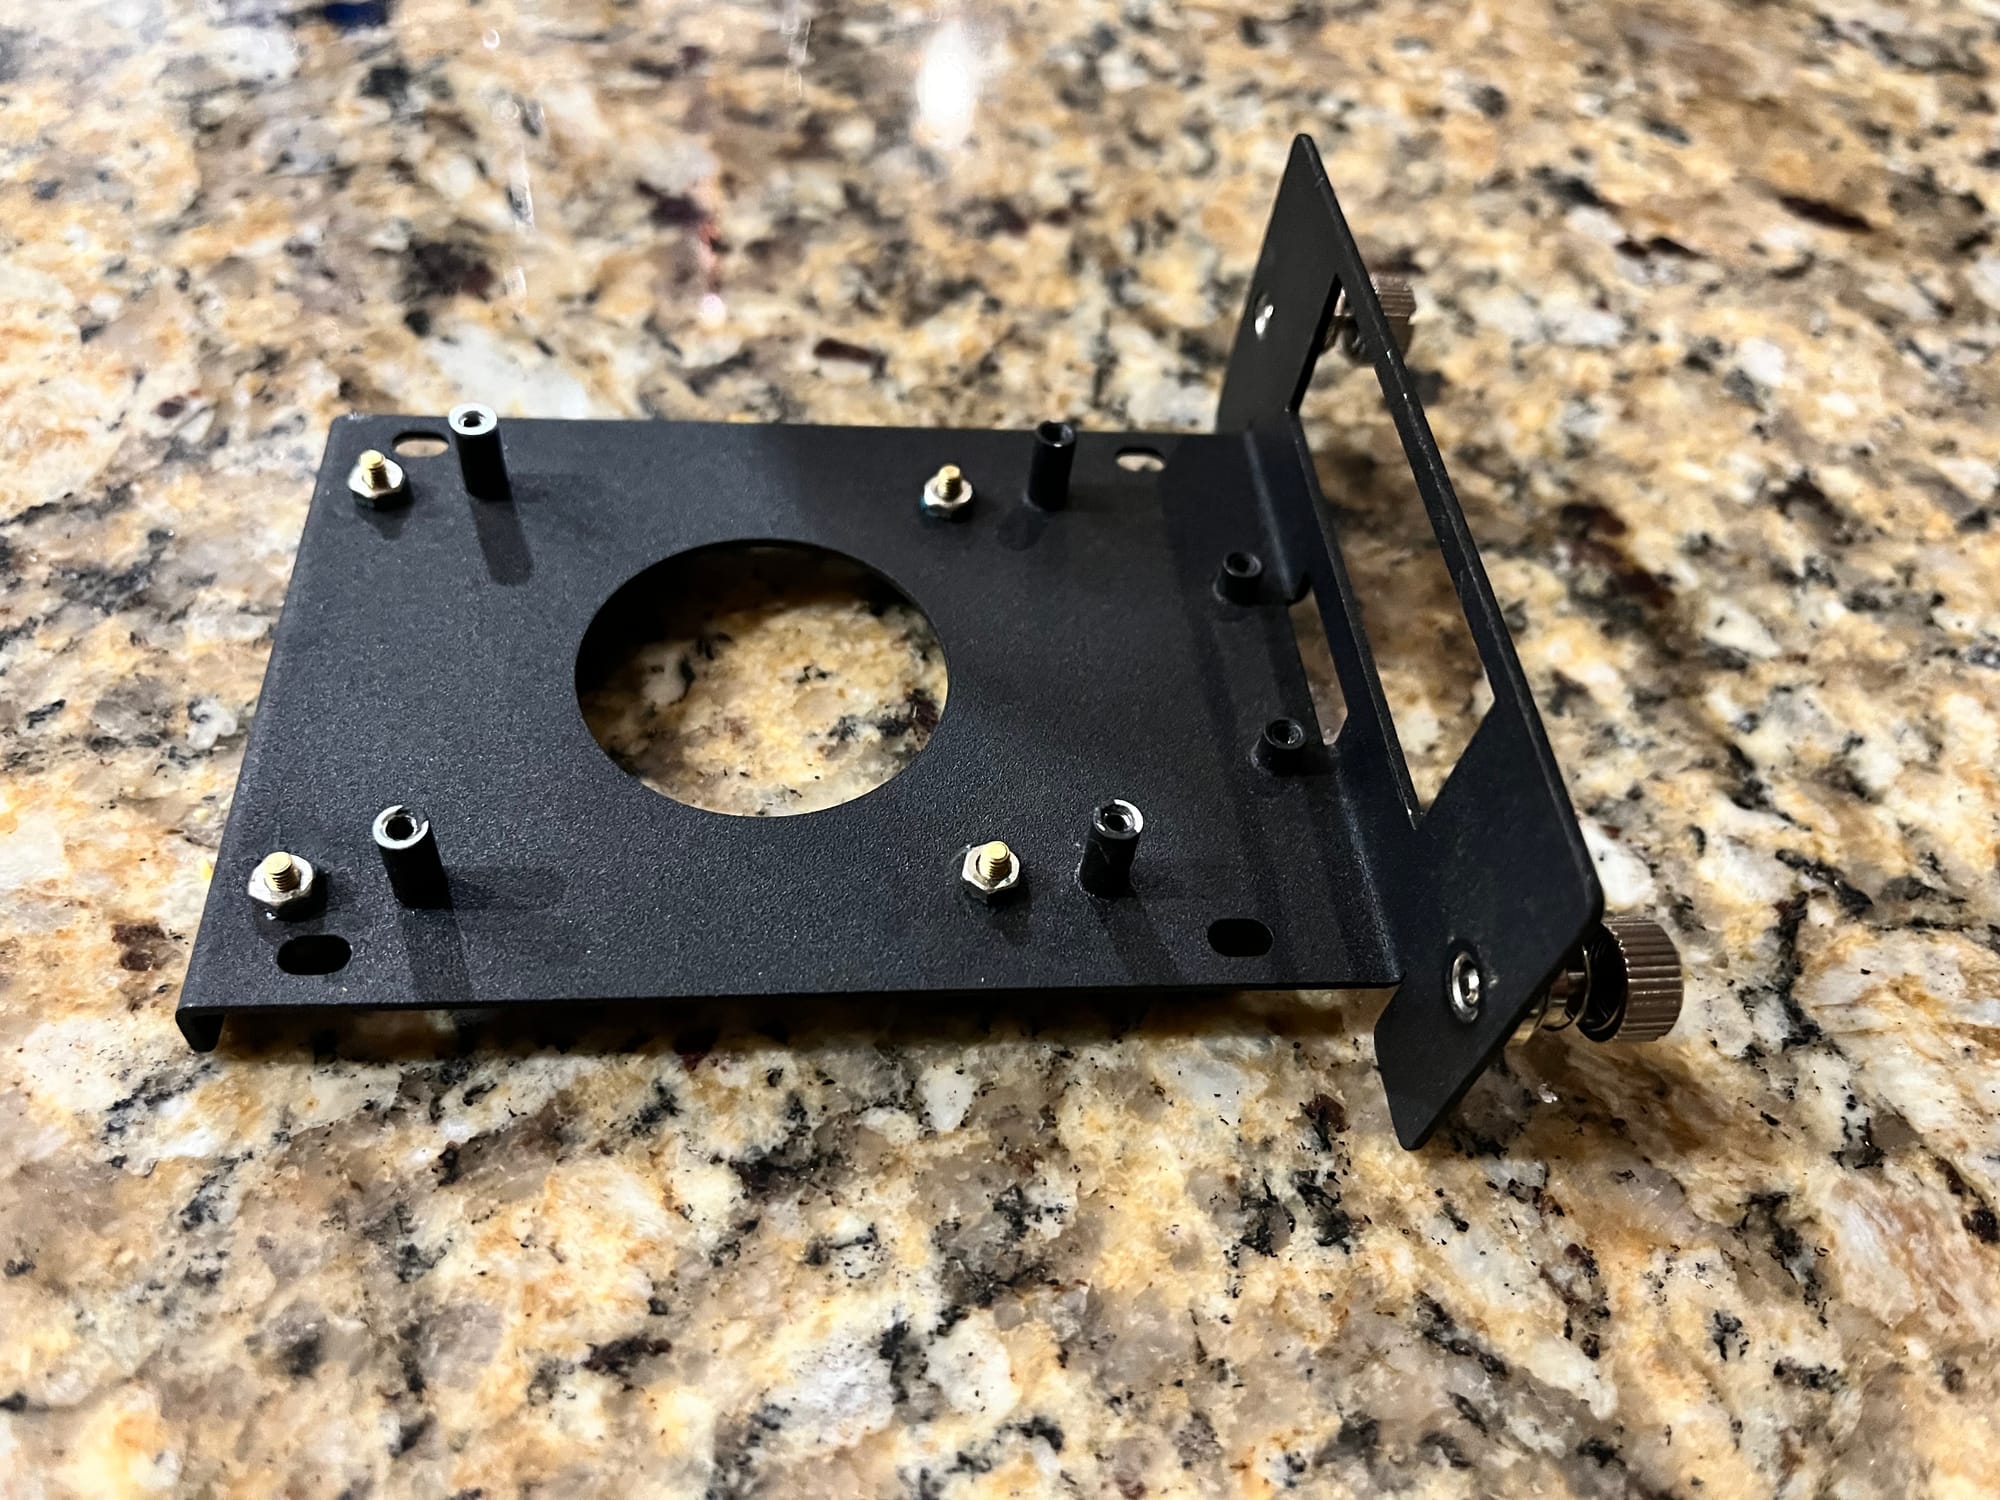
Once those holes are drilled, assembly can begin. First, we need to install some standoffs for the M.2 extension board on the back of the sled. I’m not sure of the exact length of the standoffs because I had them in a kit that wasn’t labeled, but they were just slightly shorter than the lip of the sled, like this.
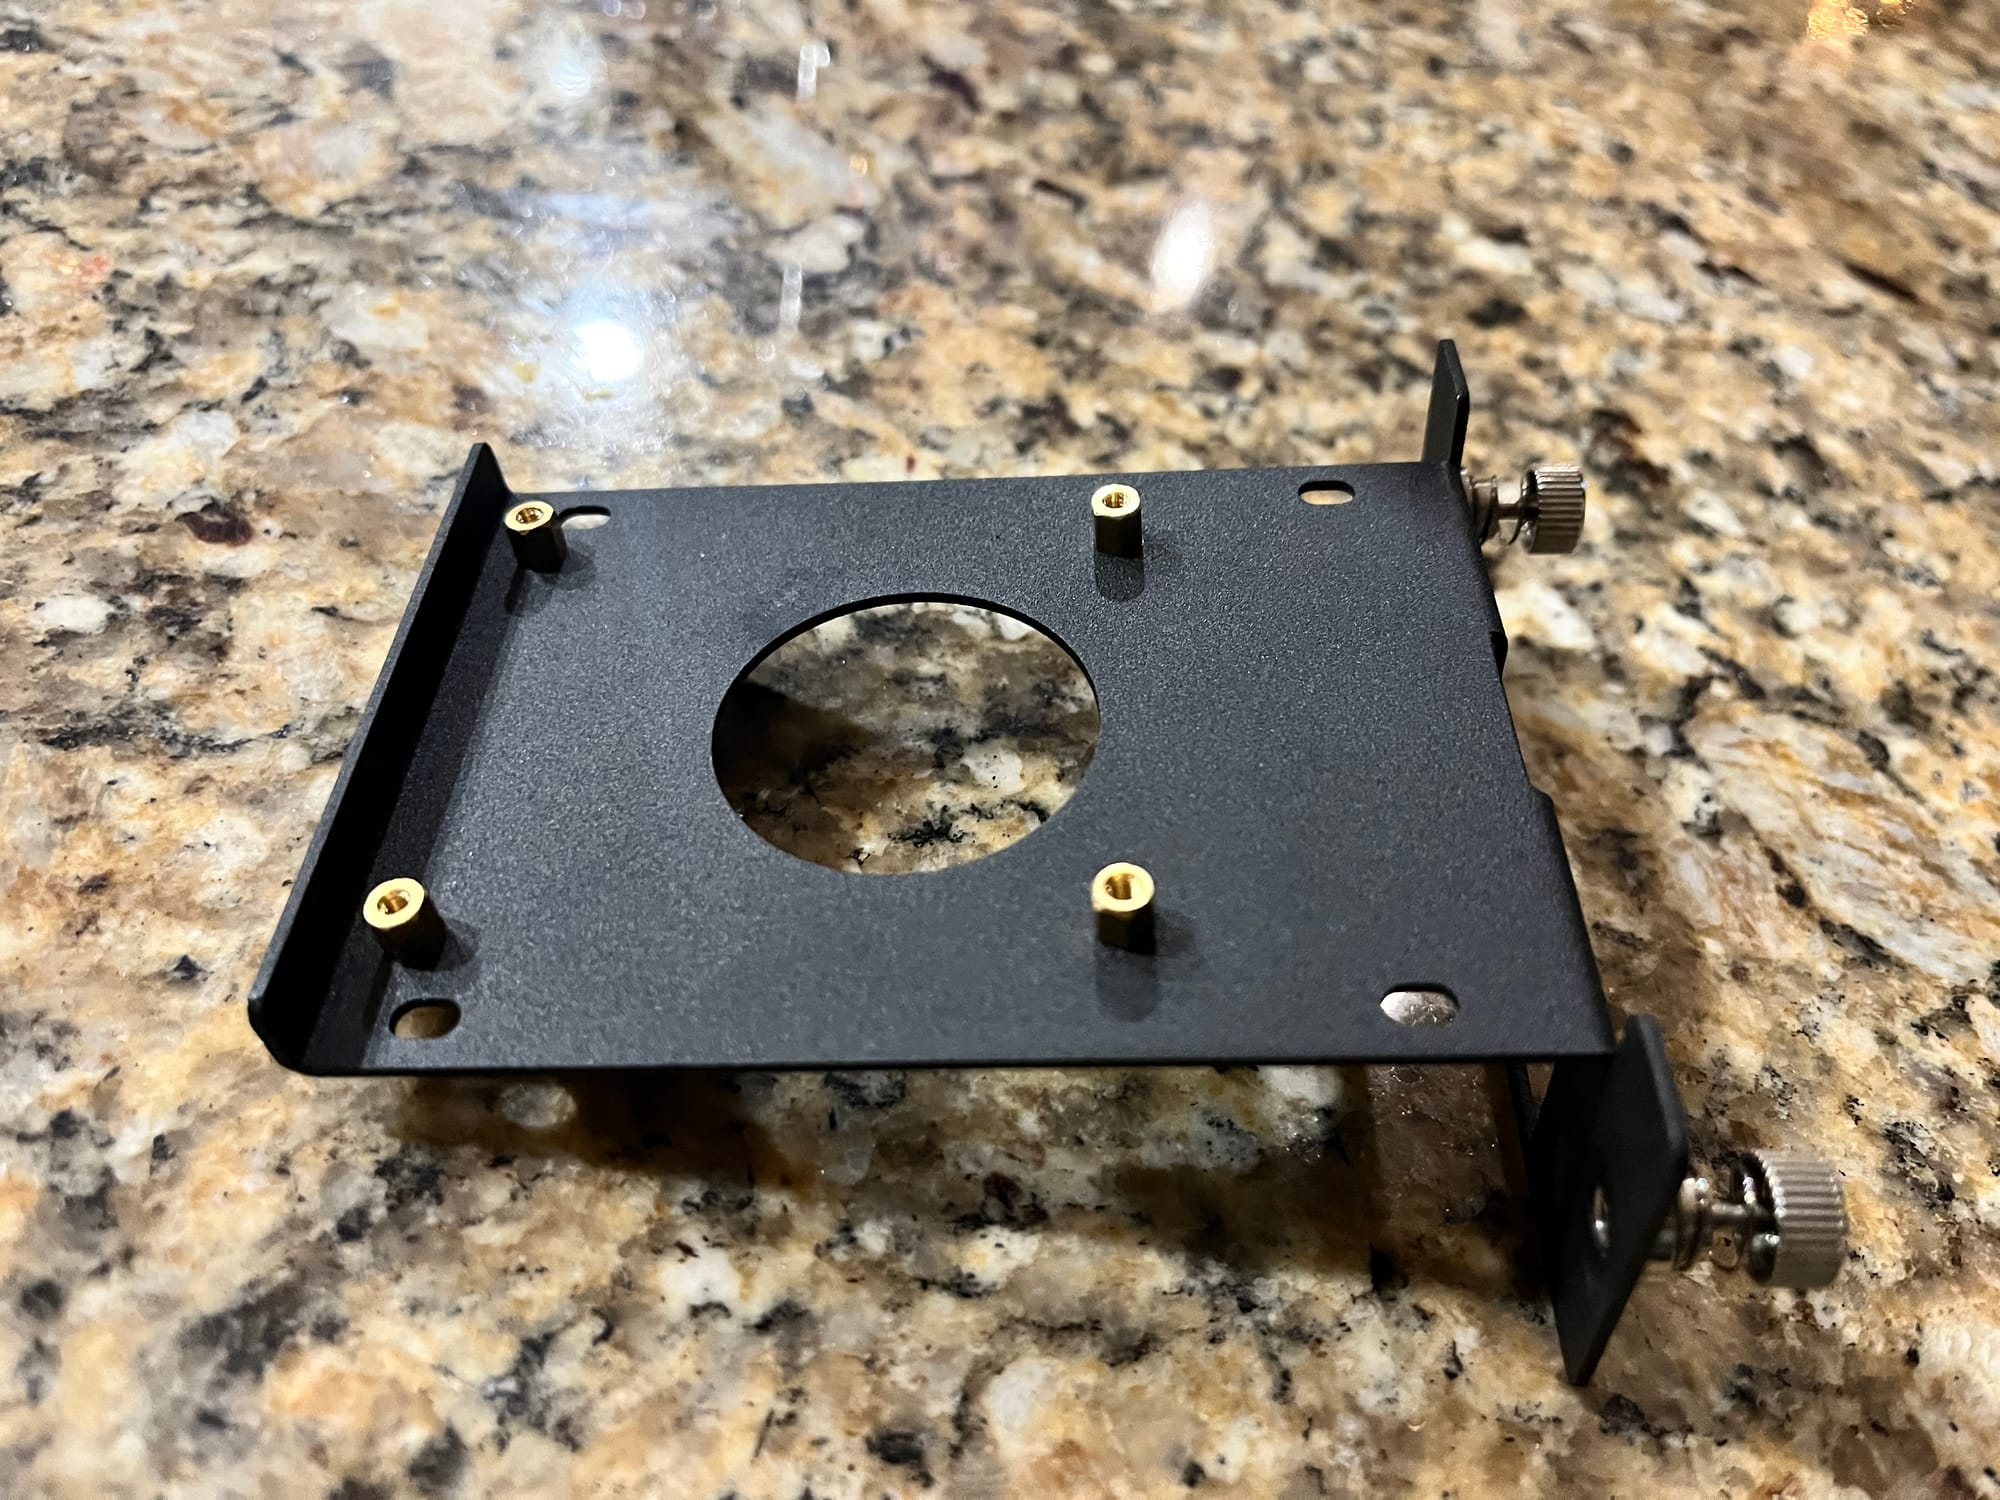
I used nuts on the back because the thickness of the sled is not enough to hold the standoffs on its own.
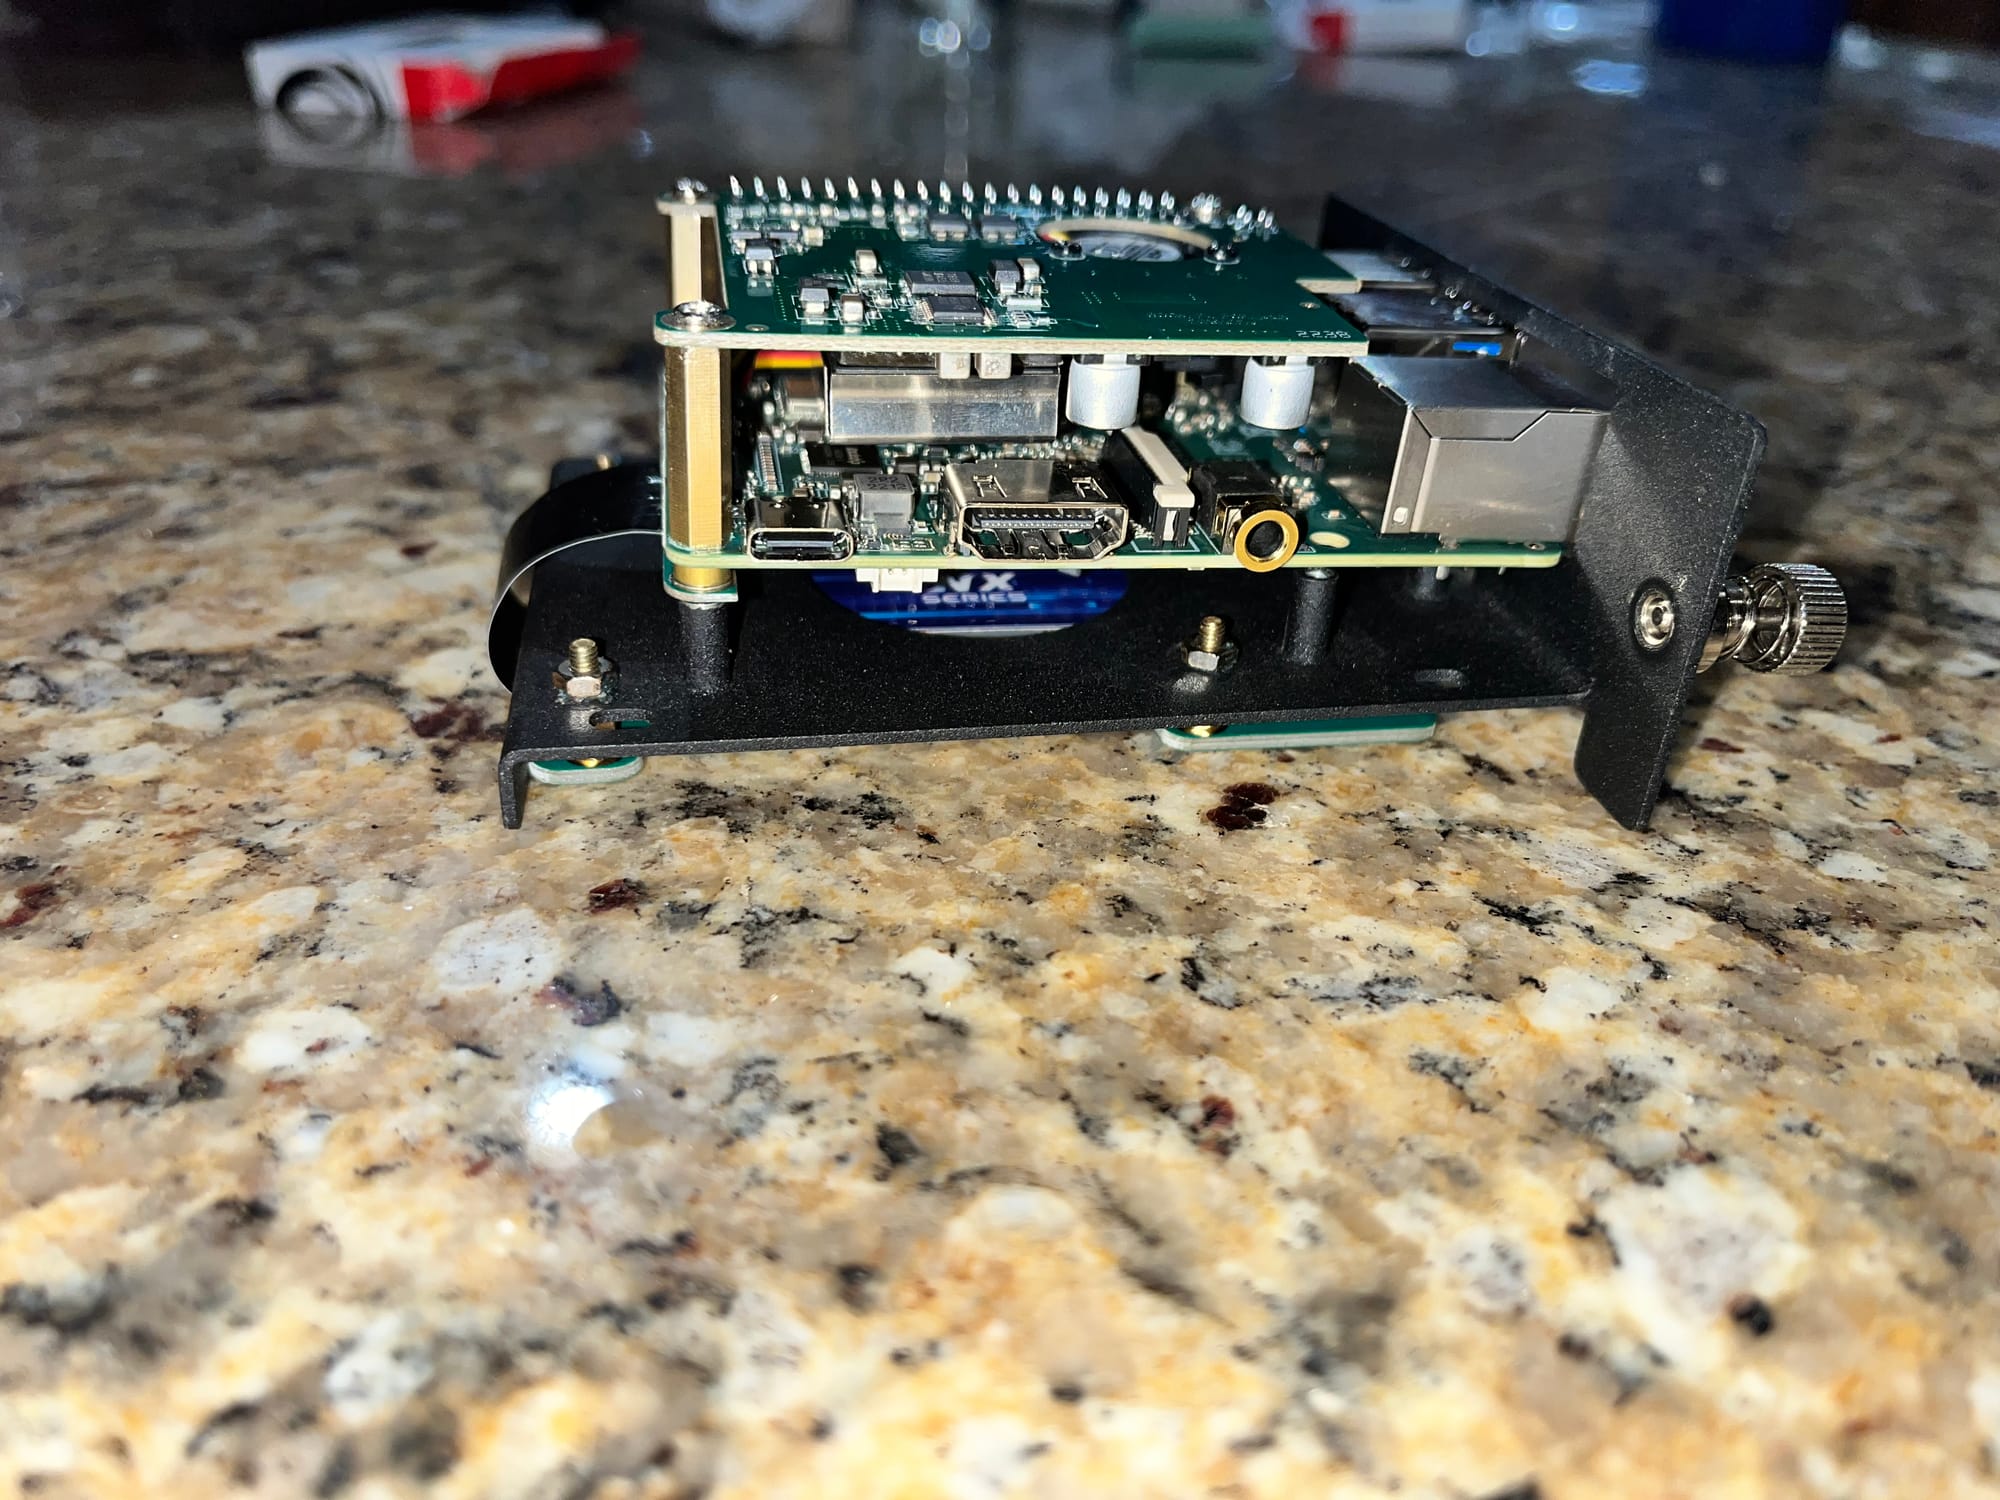
Now for the sled assembly. Start by securing the Rock 4SE board to the front of the sled with the M.2 board connected but hanging freely. Once you have the Rock 4SE board secured, you can then connect the M.2 extension to the back of the sled on the standoffs that were installed. After that, you can put the POE hat on the Rock 4SE. It should look something like this:
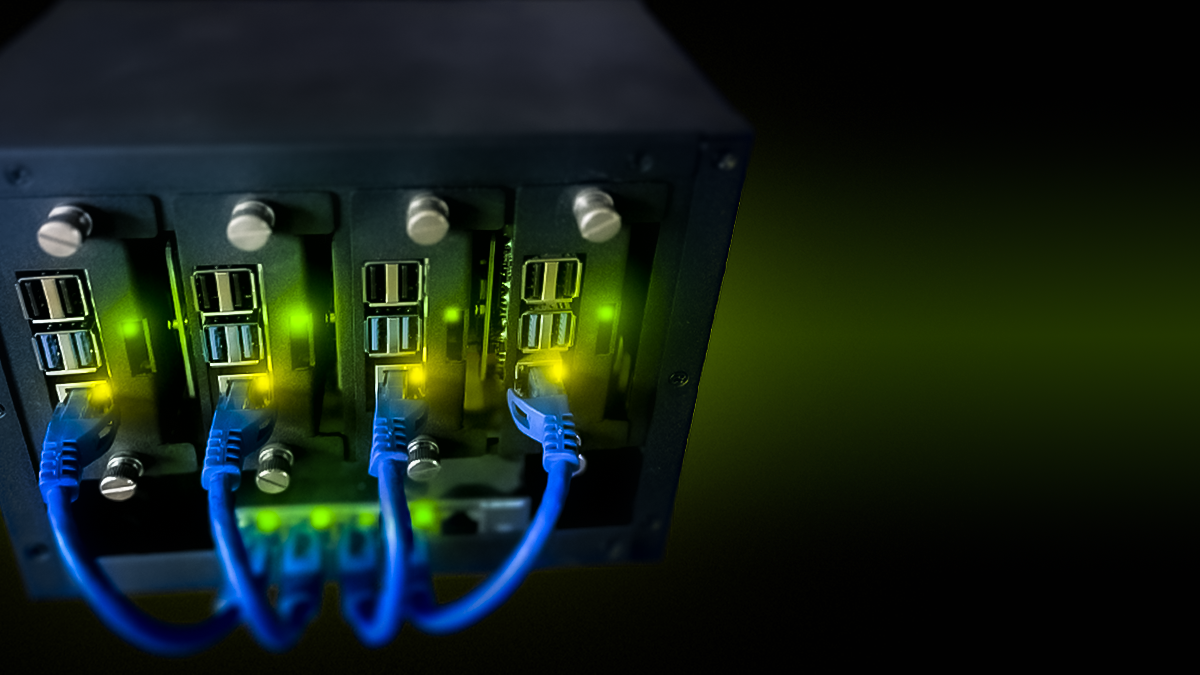
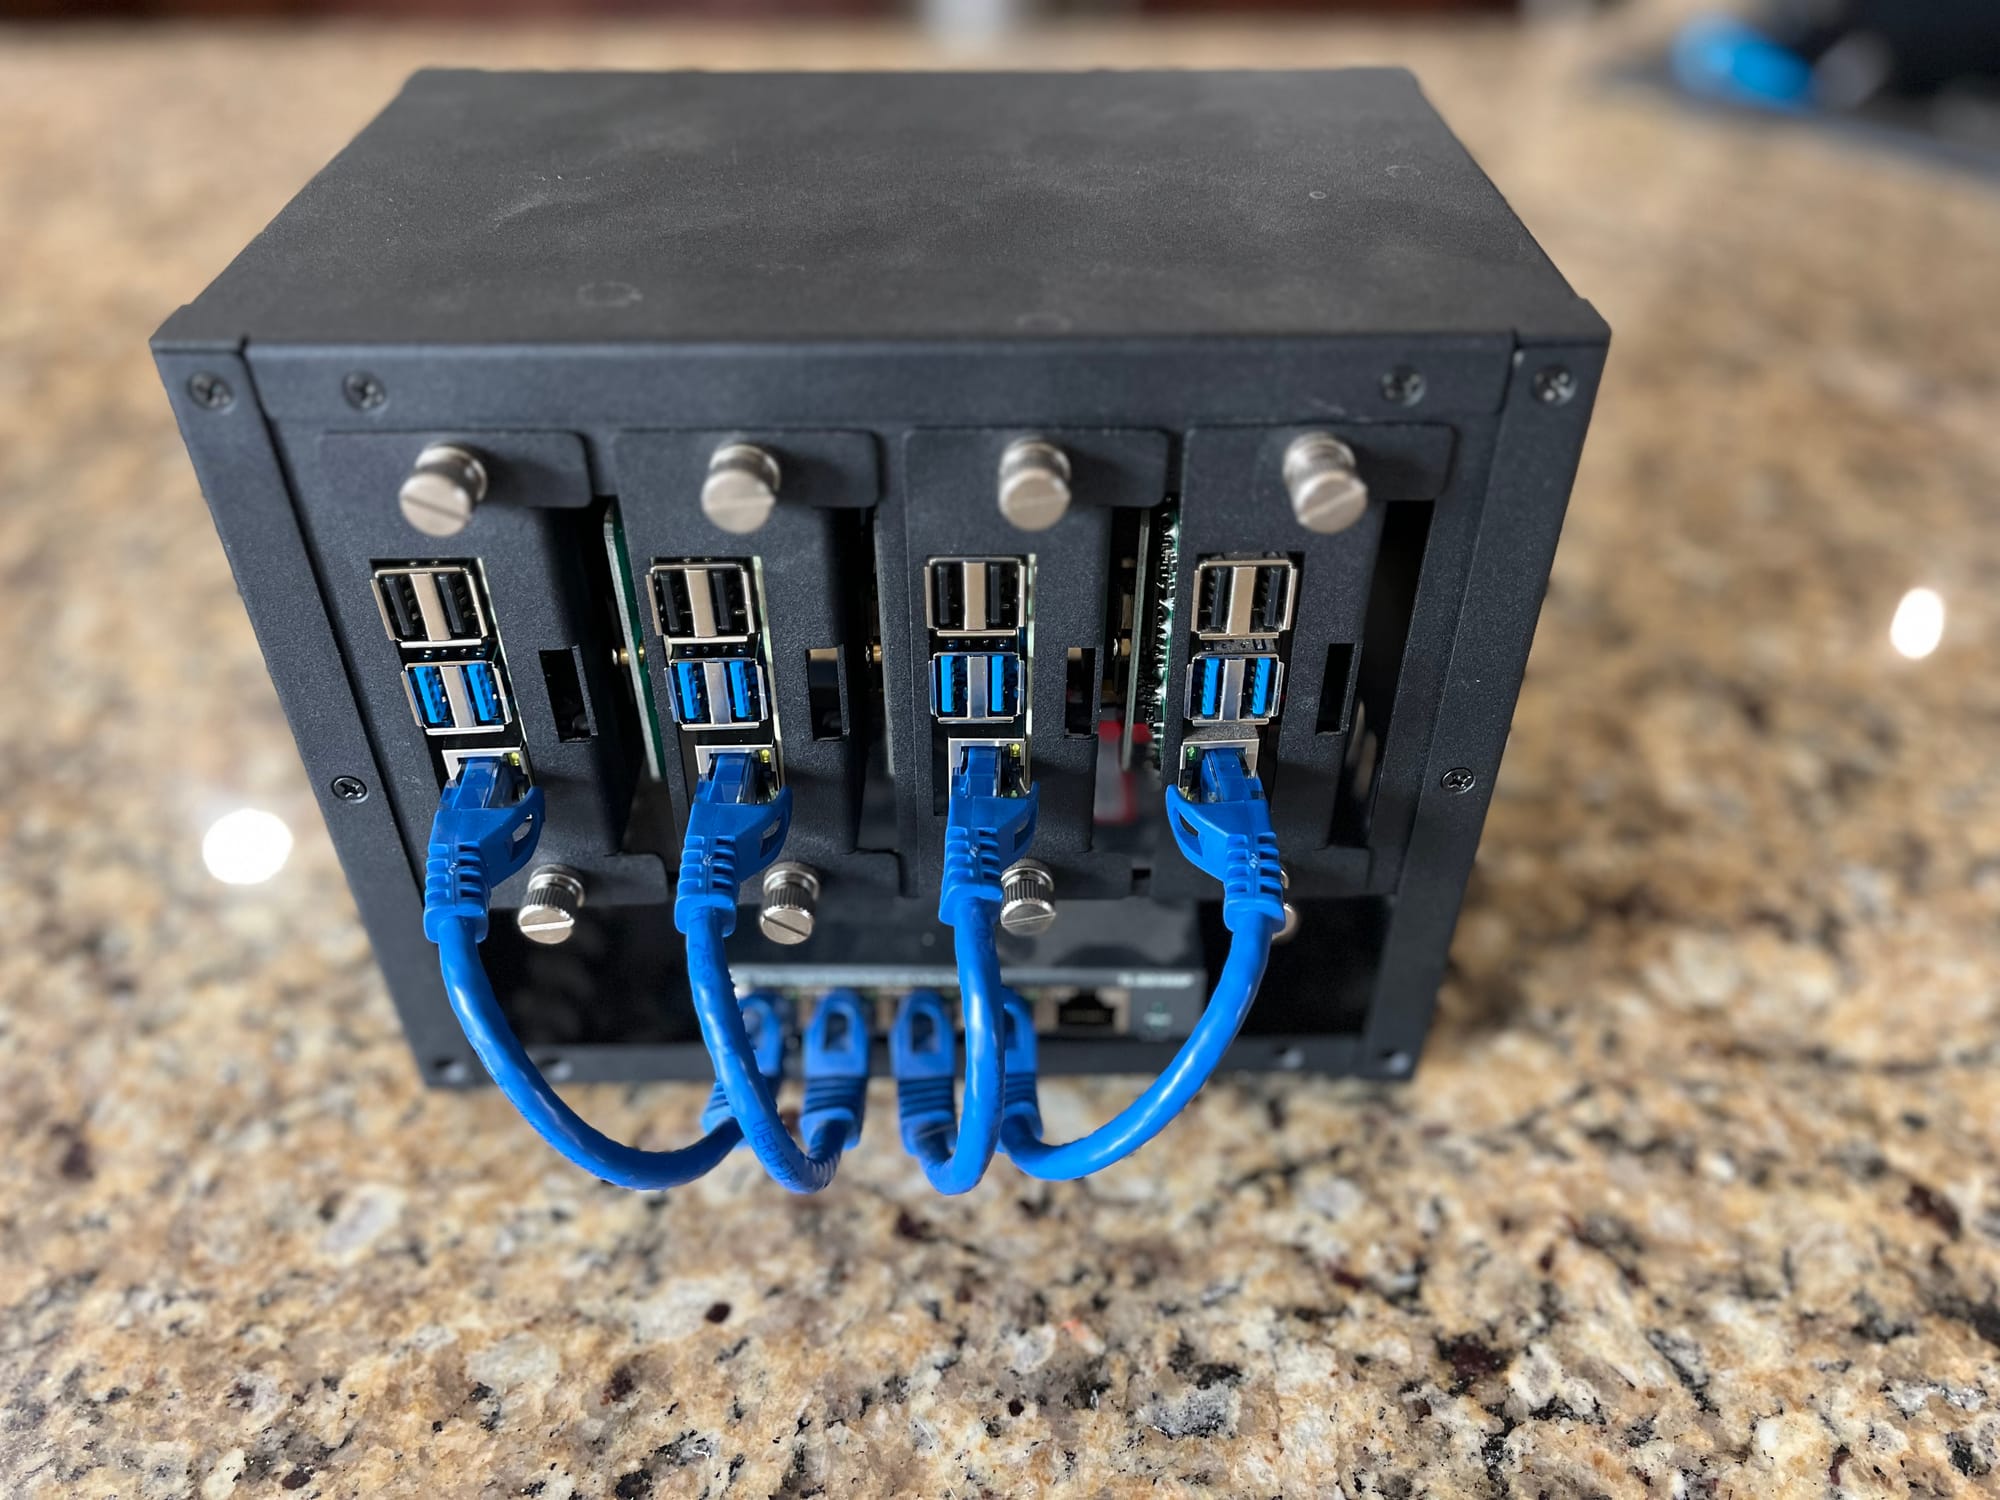
Build that 4 times and you will have a fully assembled K8s cluster similar to this:
In conclusion, the hardware assembly for my home Kubernetes cluster is now complete, and the setup is coming together nicely. In the next article, I’ll dive into the software installation process, ensuring everything is configured properly and running smoothly. Stay tuned for more details, and thanks for following along on this journey!